The Art of Planting Birds
by Bob & Jody Iler
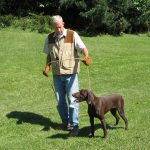
Our clients love their bird dog classes! Not only do they learn to train their pointing dogs with the help of “seasoned” trainers, but sessions are hands-on from the start. Each class, of course, is preceded by relevant theory for that day’s lesson, but nothing works better for these eager students than getting out in the field and learning how to train their dogs themselves. Busy work weeks are forgotten as they practice yard work, field handling, and introduction to birds and the gun.
One of the key things that clients learn is how to plant birds!
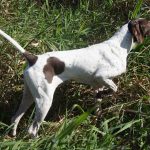
Chukars work well with traps.
This is an art that fosters the young pup’s development and ready him for the hunting season. If done incorrectly, though, it can also set a pup’s training back. The main thing to remember in planting birds is not to let the pup catch them! Catching planted birds can cause the pup to soften on point and jump in on birds, habits you don’t want to encourage. It’s fine if the young pup catches a bird now and then to whet his enthusiasm – we just don’t want this to become a habit.
For much of our puppy development, we’ll use pigeons. Pigeons are generally easy to obtain and will home back to their loft so you can use them repeatedly. When first introducing younger pups to birds, we’ll often use hobbled quail, gradually releasing the restraints on the bird’s feet and wings once the pup has gotten excited about them and recognizes their scent.
We normally don’t start young pups on planted pigeons because the flapping of their wings as they flush can startle a pup that’s just learning about birds. Sometimes we’ll test a pup by carrying a pigeon in our vest and taking it out of our pocket in the field, showing it to the pup while holding it. If the pup acts unsure or backs off from the pigeon, we’ll use quail first to build his confidence.
Some pups will go crazy over the pigeon right from the start, even when we let it flap its wings while holding it. With these pups, we get them ramped up, teasing them with the pigeon, and then release it a distance from the pup to fly. These birdy types will often chase the pigeon as it flies off, and we know we are in! Occasionally, a pup will show no interest in working a pigeon. For these pups, we’ll use quail. Once the pup is birdy, he may work a pigeon, but if not, you’ll have to stick to game birds to bring him on.
Here are some of the bird planting methods that we teach to our clients. Some may work better than others. You can try them and see what works best for you.

Grasp the pigeon in your hand to dizzy the bird.
Dizzy Method
Grasp the pigeon firmly but gently in your hand with his back against your palm and the wings snug against his sides. As you walk in the field, spin your arm in fast rotations while holding the bird, then quickly “rock” your wrist back and forth until you feel the bird getting disoriented. You’ll spin your arm and rotate your wrist about 20-30 times each, and may have to experiment to see what works best. You want to dizzy the bird just enough, but not too much. The habitat you use should be no more than a foot or so high and easy for the bird to flush. With “authority” and a quick motion, toss the bird into the cover, where he should remain for a short time, stunned. Quickly leave the area so the bird doesn’t see you. Have your dog close by in the vehicle, and take him out and start working immediately. We usually dizzy and plant about three birds per session in case a spooky pigeon flies away before we return to work with the dog.
Head Tuck Method
Another method similar to dizzying is the head tuck, to use with pigeons or larger game birds such as chukars. Hold the bird as described above, and gently tuck the bird’s head under its wing. Make sure to securely hold the wing covering its head with your thumb and quickly rock and rotate the bird with your wrist. Lay the bird in the cover on the side with its head under its wing. When working a dog using this method, you’ll want to use a checkcord so he can’t jump in on the bird. Have a helper gently nudge the bird “awake” with his foot to flush it while you restrain your pup on point with the checkcord.
Hose Method
This method works well if you are short on birds. Secure two strings to a piece of rubber hose about 16” in length. Tie the end of each string to each leg of a pigeon and plant the bird in the field. Here again, use a checkcord on your dog and a have a helper to assist in the flush. When the pup points the bird, have the helper grab the hose where the bird is planted and toss the bird into the air. It will fly about 50 yards or so and come down. The helper should mark where the bird comes down and get it to reuse again. Make sure to have your pup on a checkcord when using this method.
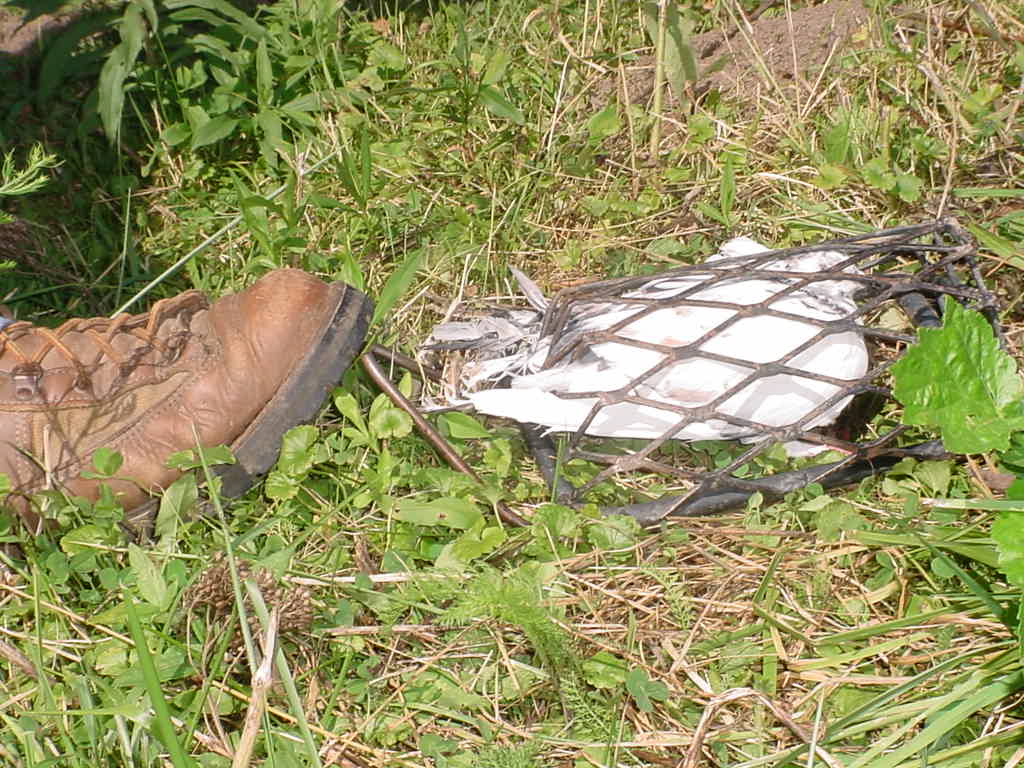
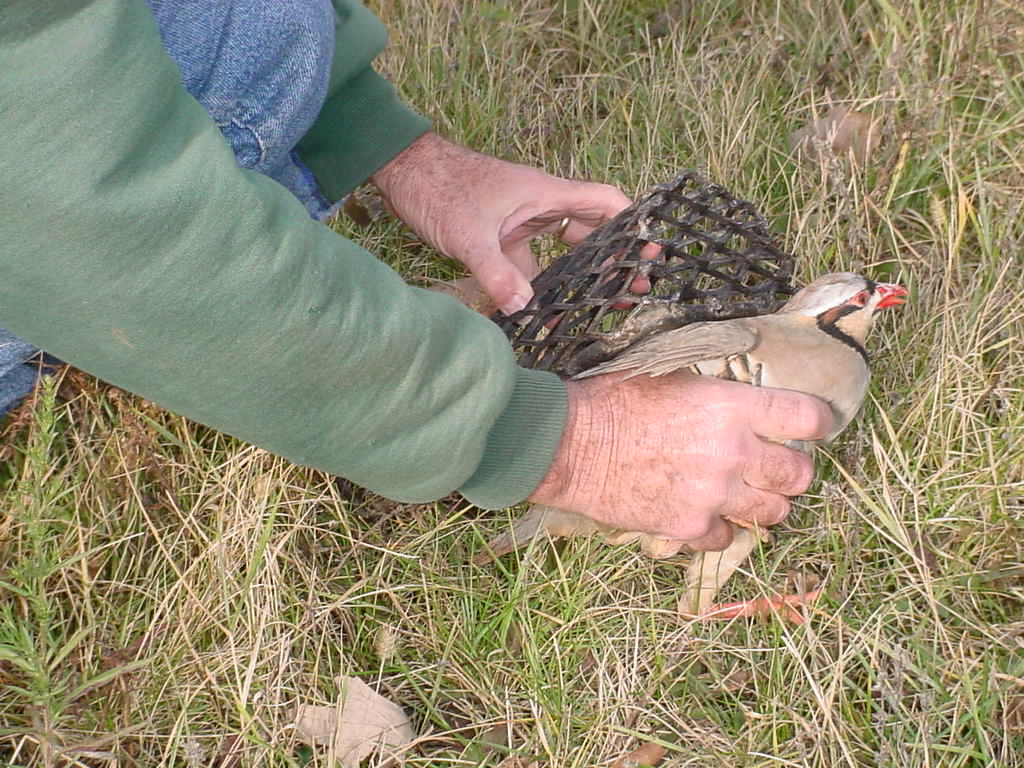
Step on the trap to release the pigeon.
Puppy Traps
Puppy traps are metal “cages” with a step handle on one or both ends to release the bird placed inside the trap. You can use pigeons or game birds with these traps. The bird will remain where you have planted it and the puppy can’t grab the bird. Again, a checkcord should always be used so the pup can’t get right on top of the trap, softening his point and causing problems. We only use the traps initially with a pup and don’t recommend overdoing their use. Traps can also be used on trained, seasoned dogs that are staunch on point. Check out our article, “The E-Z Trap: Bird Planting Made Easy” in the Jan./Feb. 2005 issue of Pointing Dog Journal.
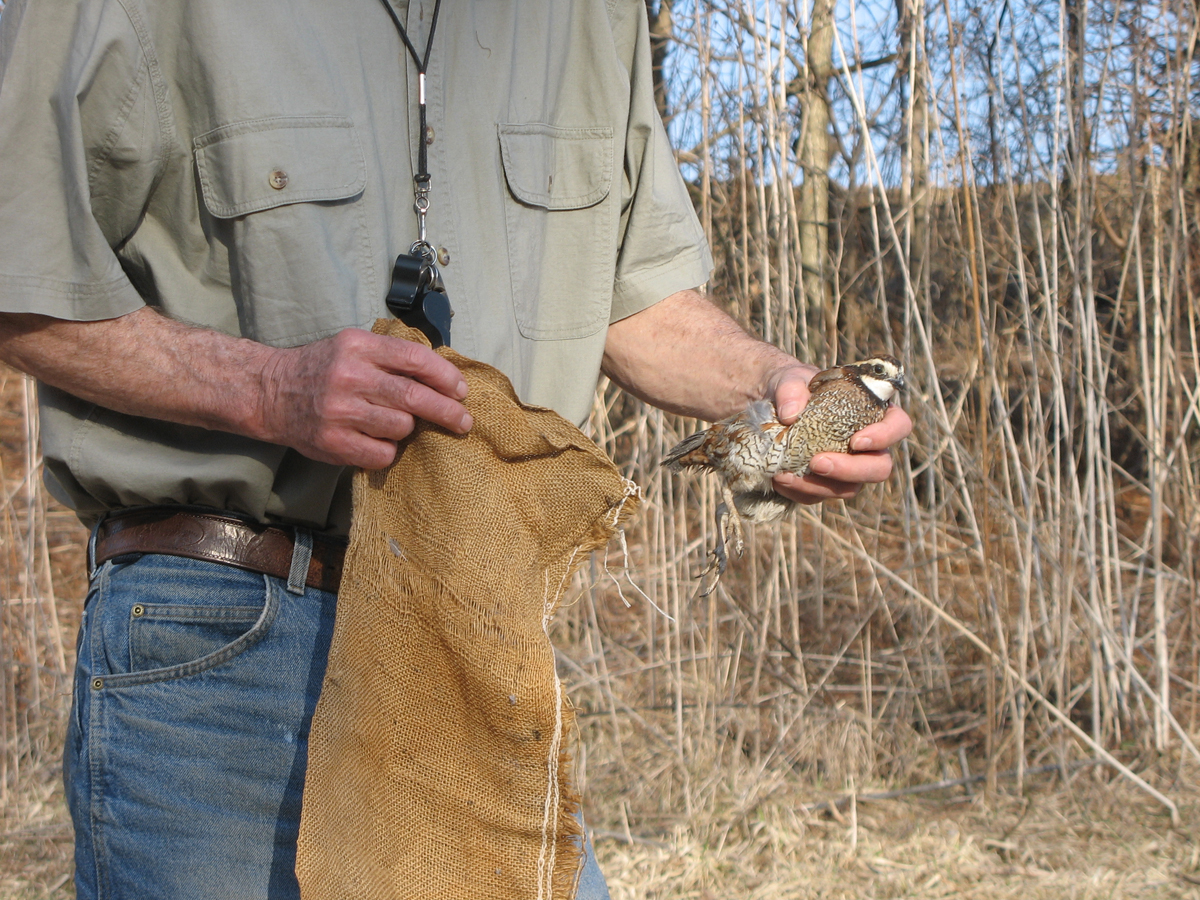
Spinning a burlap sack with quail inside works well for pups and seasoned dogs.
Sack Method
This method works well for planting quail and is excellent both for puppies and seasoned dogs. We use a long, rectangle burlap sack about 8-10” wide and 2-3’ in length, sewn shut on three sides with the topside open. Gently drop the quail into the bag, gather the open end in your hand, and swing the bag moderately about 20-30 times. Holding the closed end up and shaking gently, drop the quail quickly into about one foot of cover. Leave the area immediately and bring your pup back to work him on the quail. We try to put out at least a couple of quail for a session and also carry a quail in our vest to plant if needed. Here again, you’ll want to experiment with the number of swings you make with the bag. Quail are fragile. You’ll want them disoriented enough to stay in place for a bit, but also ready to flush well. With practice, this method works very well and simulates natural conditions.
Bird Releasers
Electronic or manual bird releasers can be an effective training tool, especially when the trainer does not have a helper to flush a bird. If the releasers are noisy or the bird is released when pup is too close to the releaser, the pup can be frightened and this can set you back on several fronts. We generally use releasers only after a pup or seasoned dog has had a lot of bird work and is bird crazy. Be alert and use caution with releasers.
When training with planted birds, you want to make everything as natural as possible – the birds and scenario should resemble a wild bird in hunting cover. This includes using spooky birds that flush quickly and fly well. Keep the planted birds to just a couple per session – always ending on a positive note. Progressing from planted birds to wild birds will generally go smoothly. Mastering the art of bird planting will help you develop a top notch pointing dog!
Pointing Dog Pointers features monthly training tips by Bob and Jody Iler, who own Green Valley Kennels in Dubuque, Iowa. Bob and Jody have trained pointing dogs for over 35 years and have written many articles for The Pointing Dog Journal.