
DIY Truck Storage: Part 1
by Josh Manahan
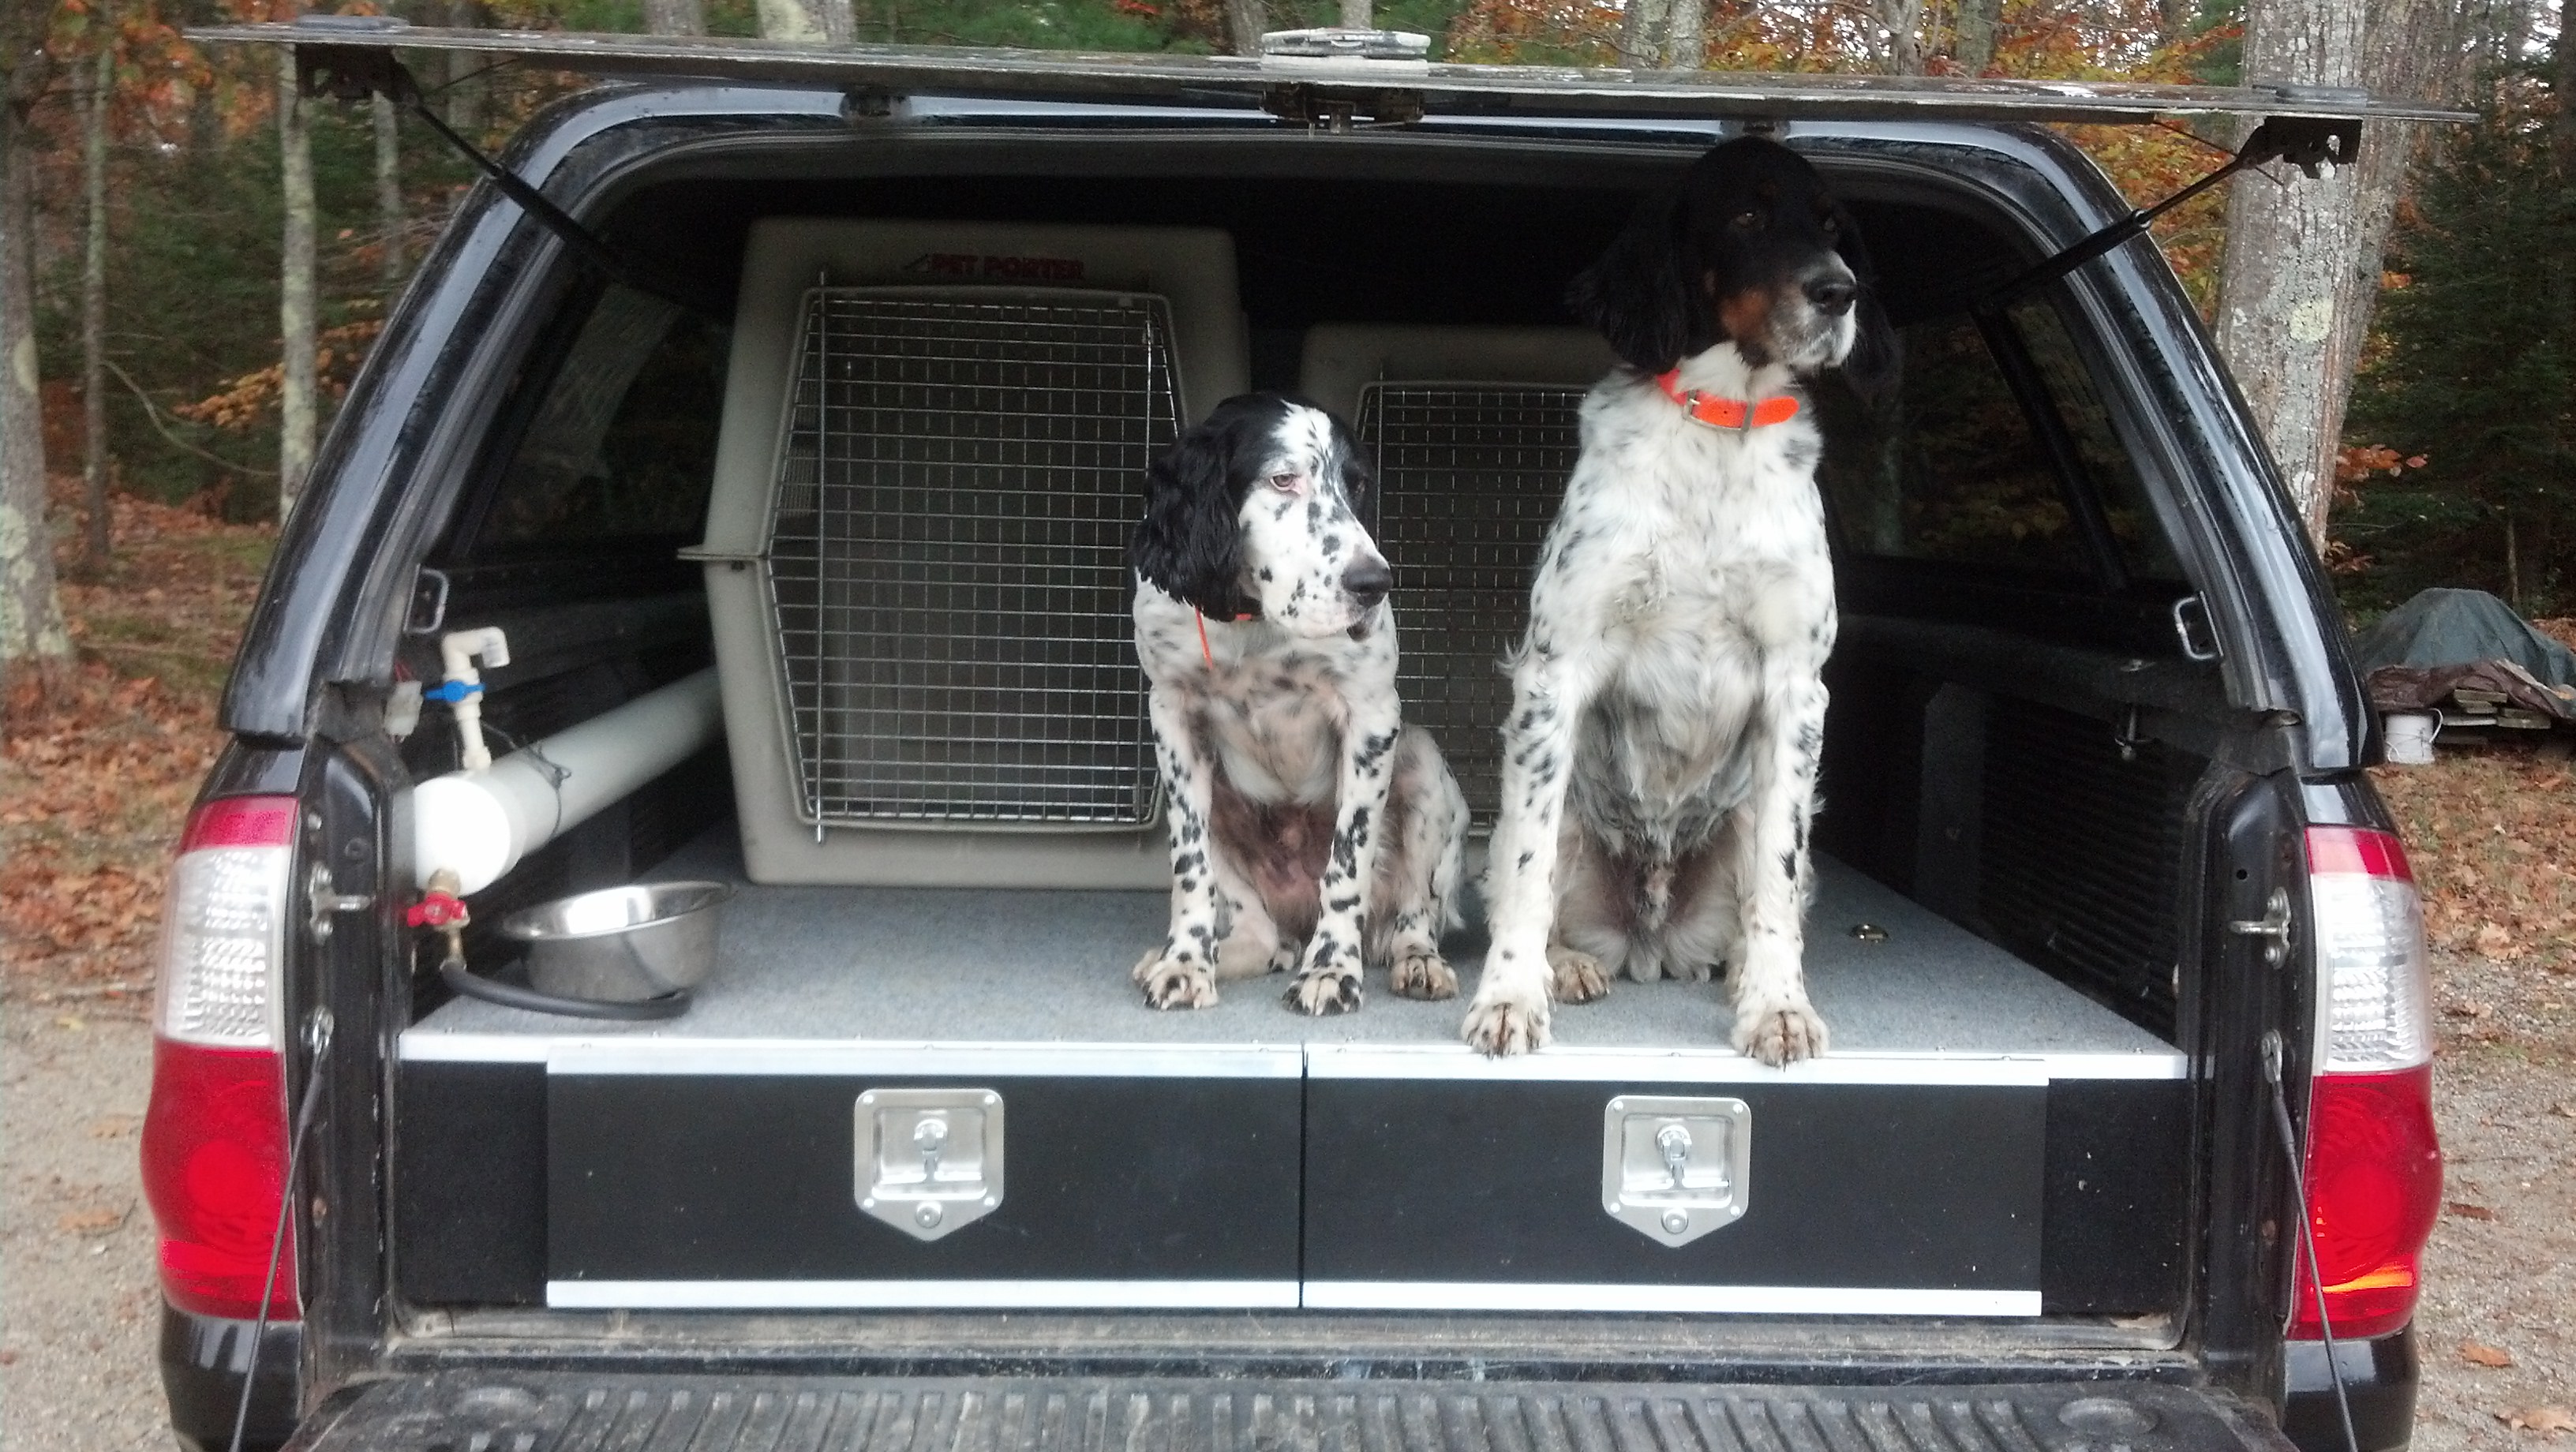
For many readers of this publication, bird hunting isn’t just a hobby— it’s a passion.
A dog’s prime hunting years are short and hunting season and vacation time even shorter. We invest in fine guns, dogs, electronics, flasks, and cigars to take maximum advantage of that time. Gear storage solutions are about as important as the stuff itself for having an enjoyable hunting experience. I’ve forgotten the correct gauge shells twice, and once brought both Astro tracking collars…but forgot the GPS. If everything has a place in your truck, it’s much less likely you will forget some crucial piece of gear. Storage drawers take advantage of normally difficult to access vehicle space and free up room for more people, dogs, and supplies. Additionally, much of your gear can stay packed throughout the season, making it a lot easier to get on the road prepared.
There are some great high quality truck box options on the market. As someone who custom builds something almost on a daily basis, I think they are a very good value. If, however, buying your ideal storage solution would mean selling your dog, consider building your own drawer system. It’s affordable, there are no advanced joinery techniques, and you probably have access to the required tools (a table saw, chop saw, and screw gun). I hope the design-and-build process laid out here for a full-size pickup with a 6-1/2-foot bed helps get you through your own project. Assuming you have all your materials, a workable design, and someone to blame for mistakes, this project can be done in a long weekend.
Step 1: Design – View truck diagram
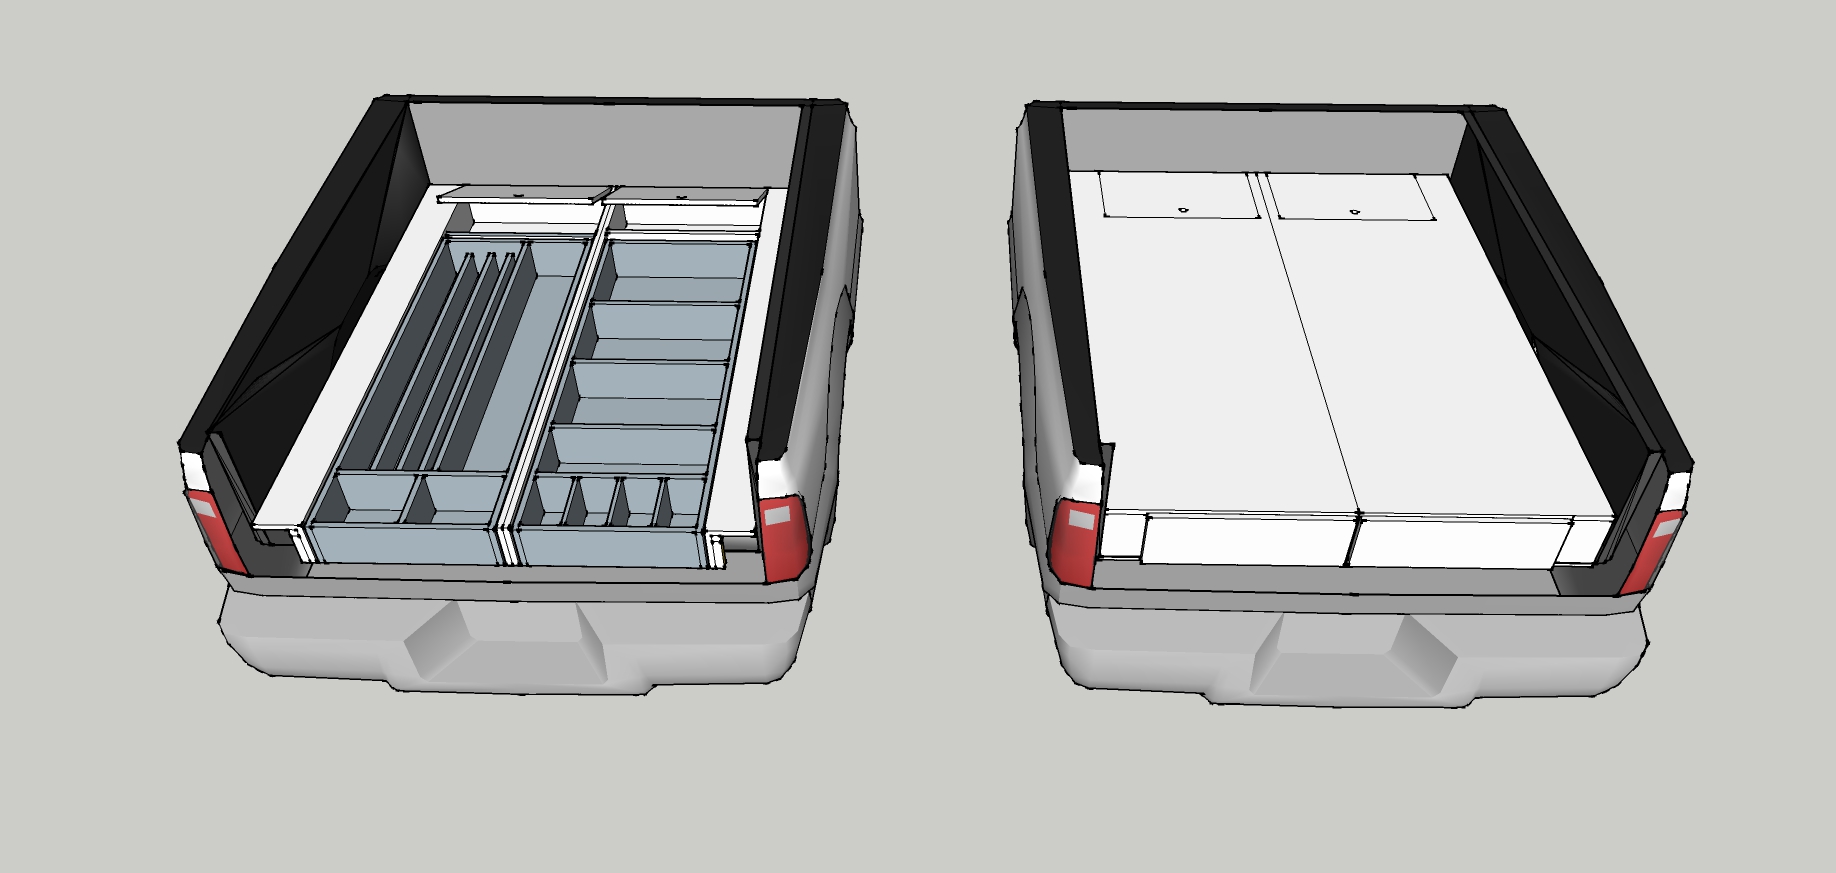 This drawer system’s designed to organize and contain all of your bird-hunting gear, and it won’t cost a fortune. To make it easy to install, the system’s built in two halves that can be screwed together after installation, using barrel bolts (sometimes aptly called sex bolts). The drawers roll on small casters instead of drawer slides, which keeps the cost down and simplifies construction. Also, the deck fits between the wheel wells of the truck so that it will slide out without having to take anything apart. If you choose to fit around the wheel wells and build tight to the bedsides, keep in mind that the top deck, or at least the portion around the wheel wells, must be removed for installation.
For starters, measure the space in your truck or SUV at its smallest points in height (usually at the tailgate), width (usually at the wheel wells), and length (with the tailgate closed).
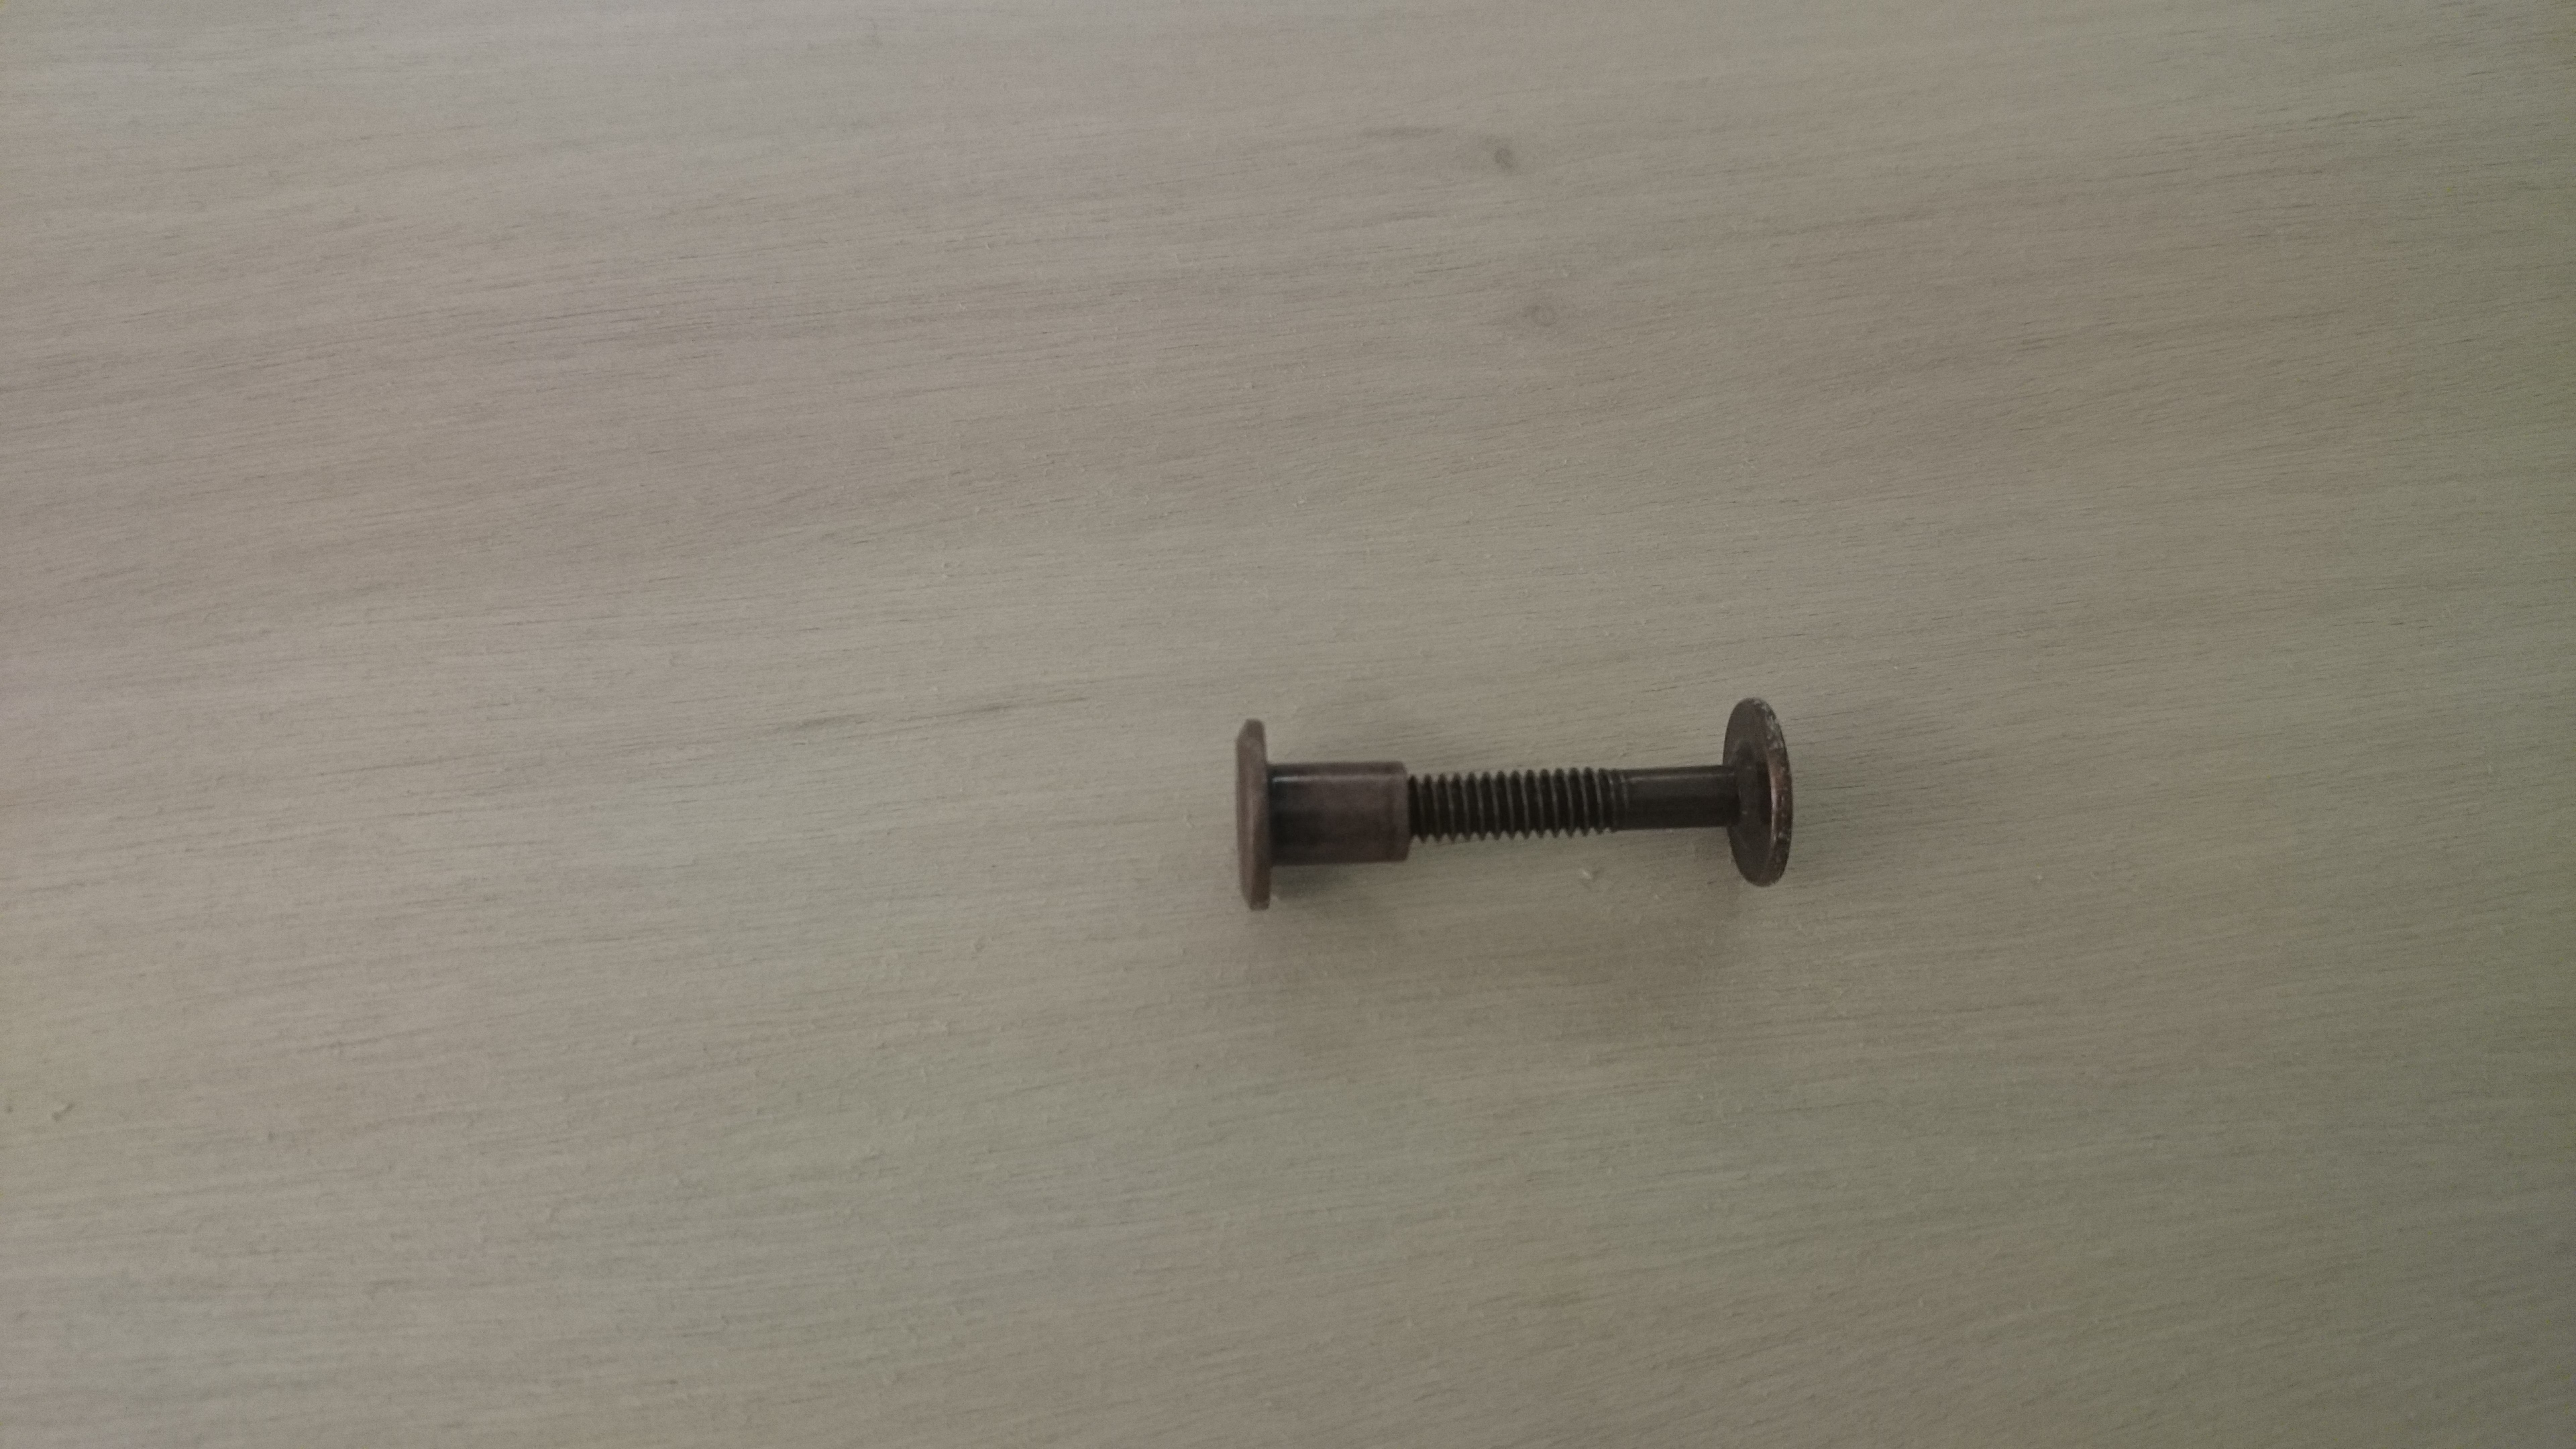 These hold the 2 drawer boxes together in the truck bed. Also called a sex bolt, Chicago bolt, or connector bolt. |
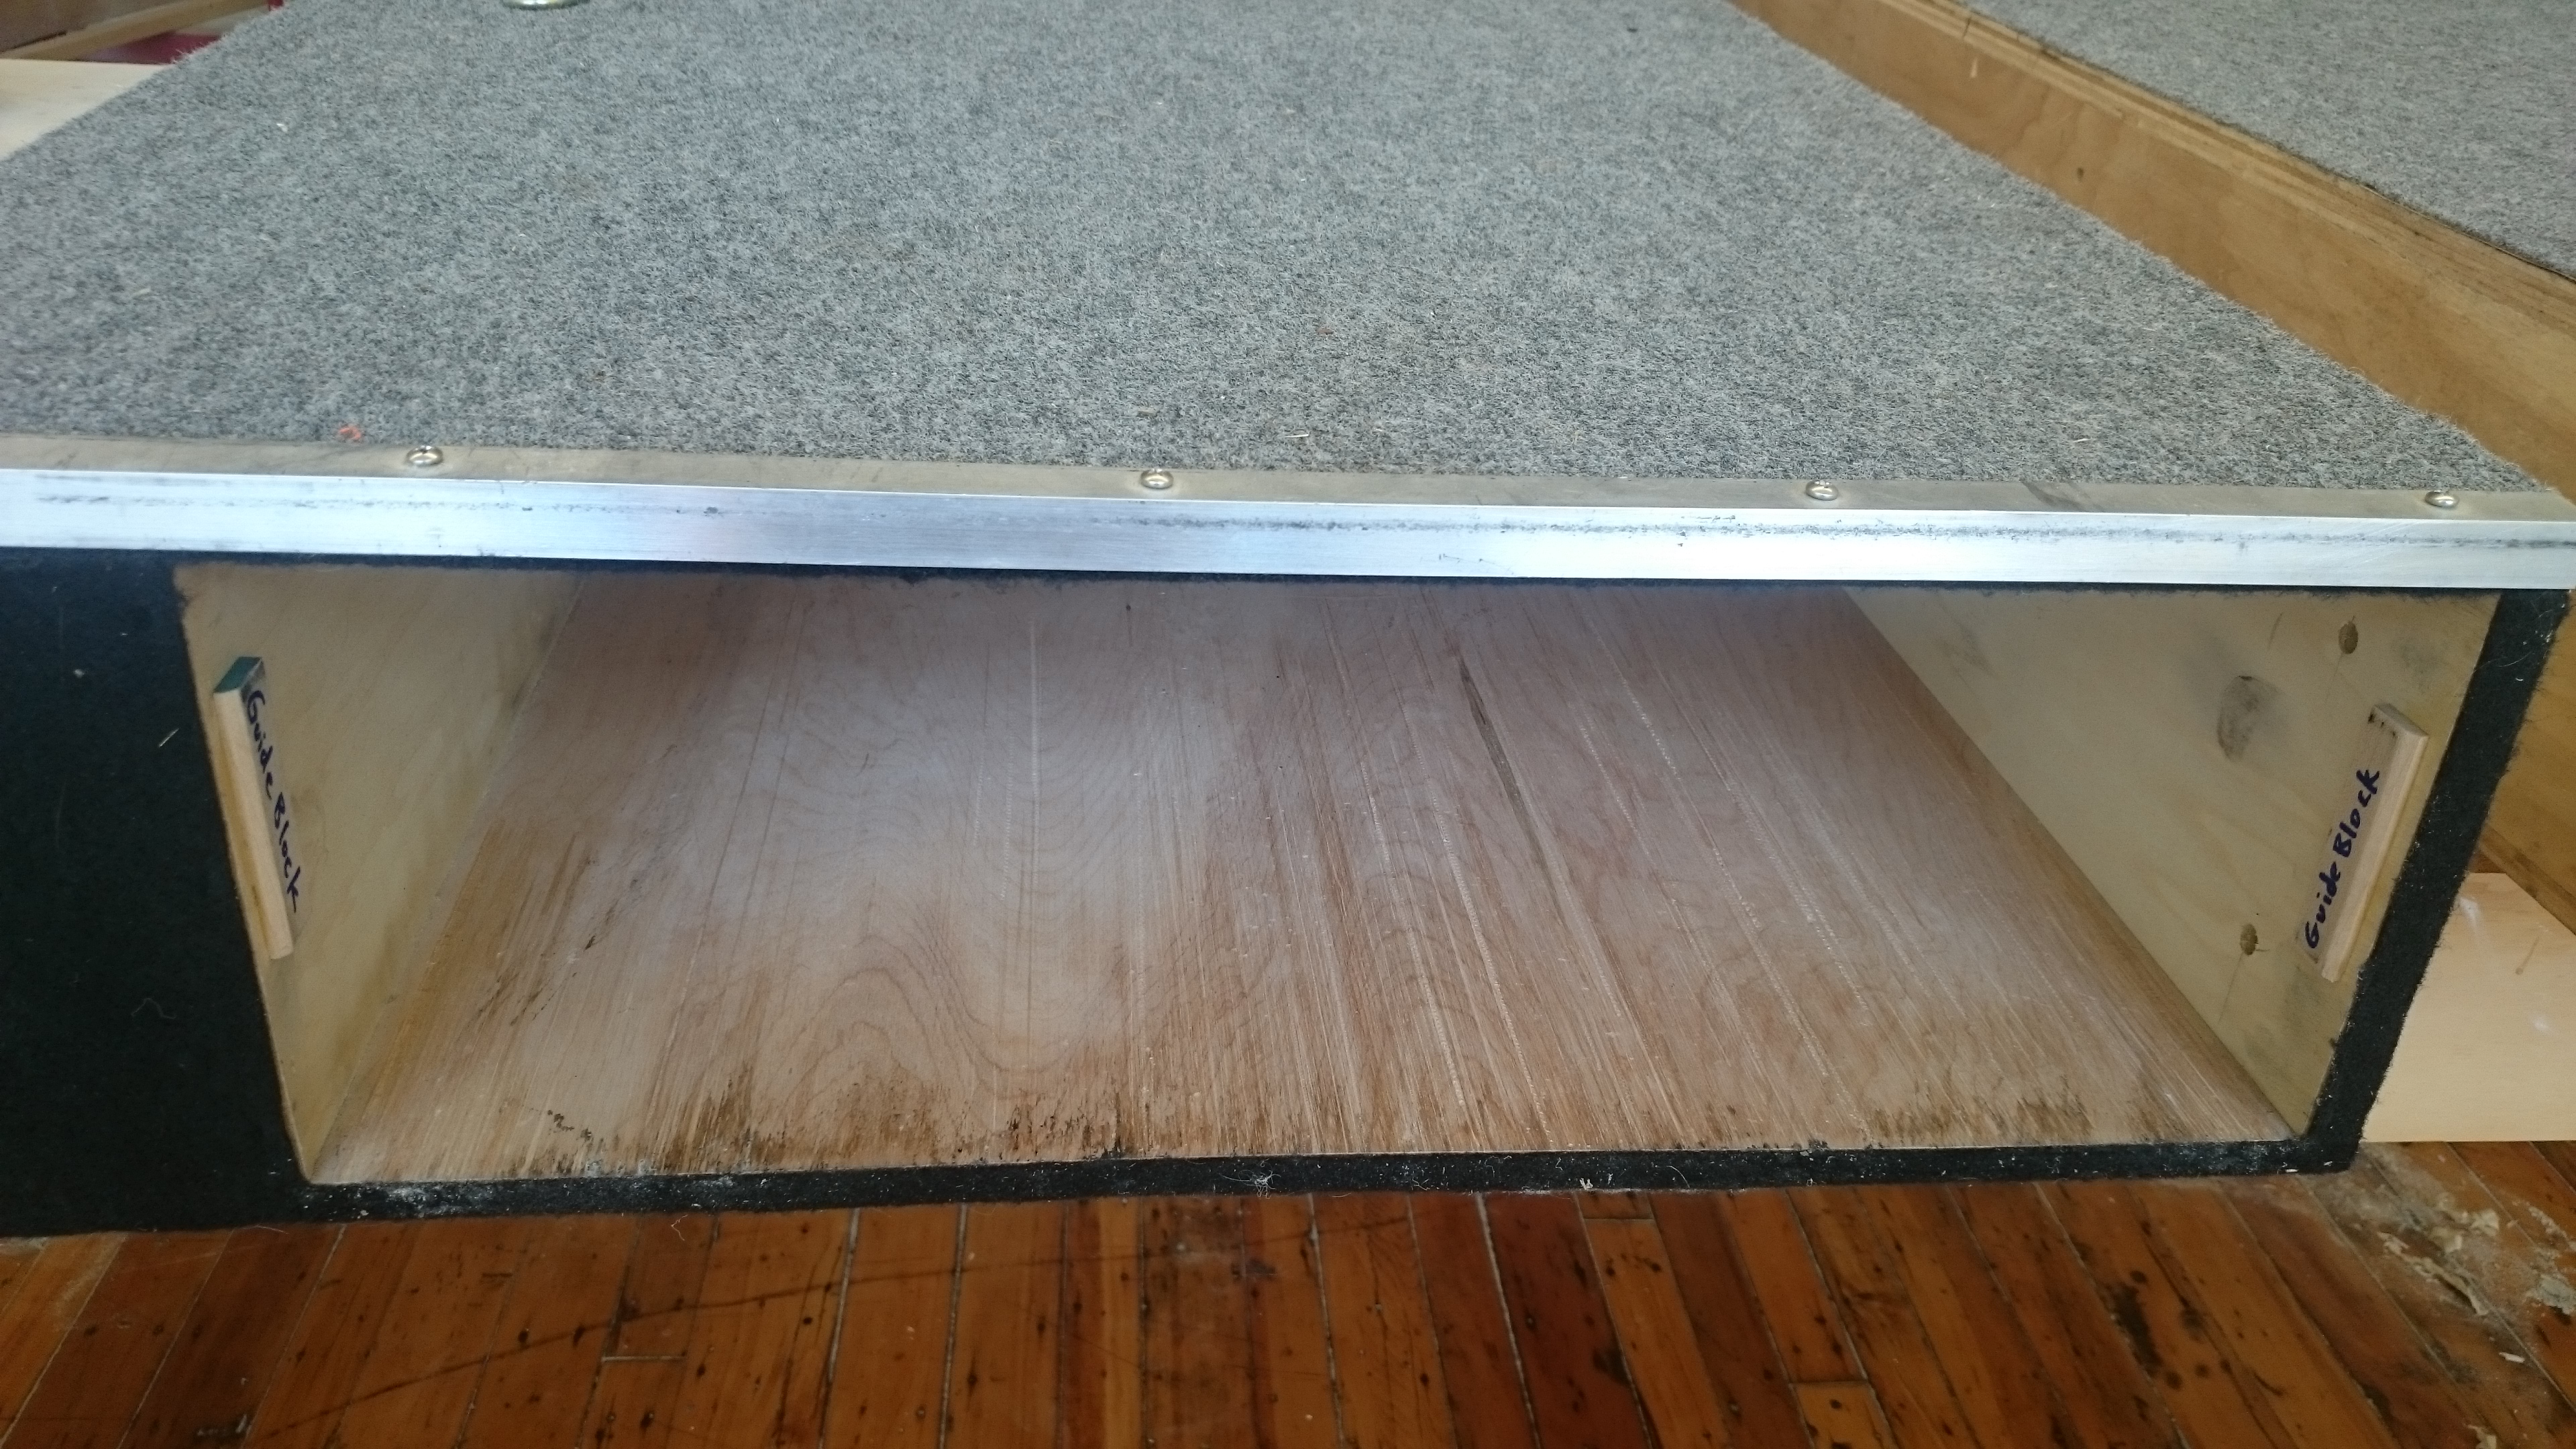 Guide blocks minimize side to side movement of the drawers. Barrel bolts hold the drawer boxes together. |
Step 2: Build 2 boxes that fit between the wheel wells – Figure-1 Diagram
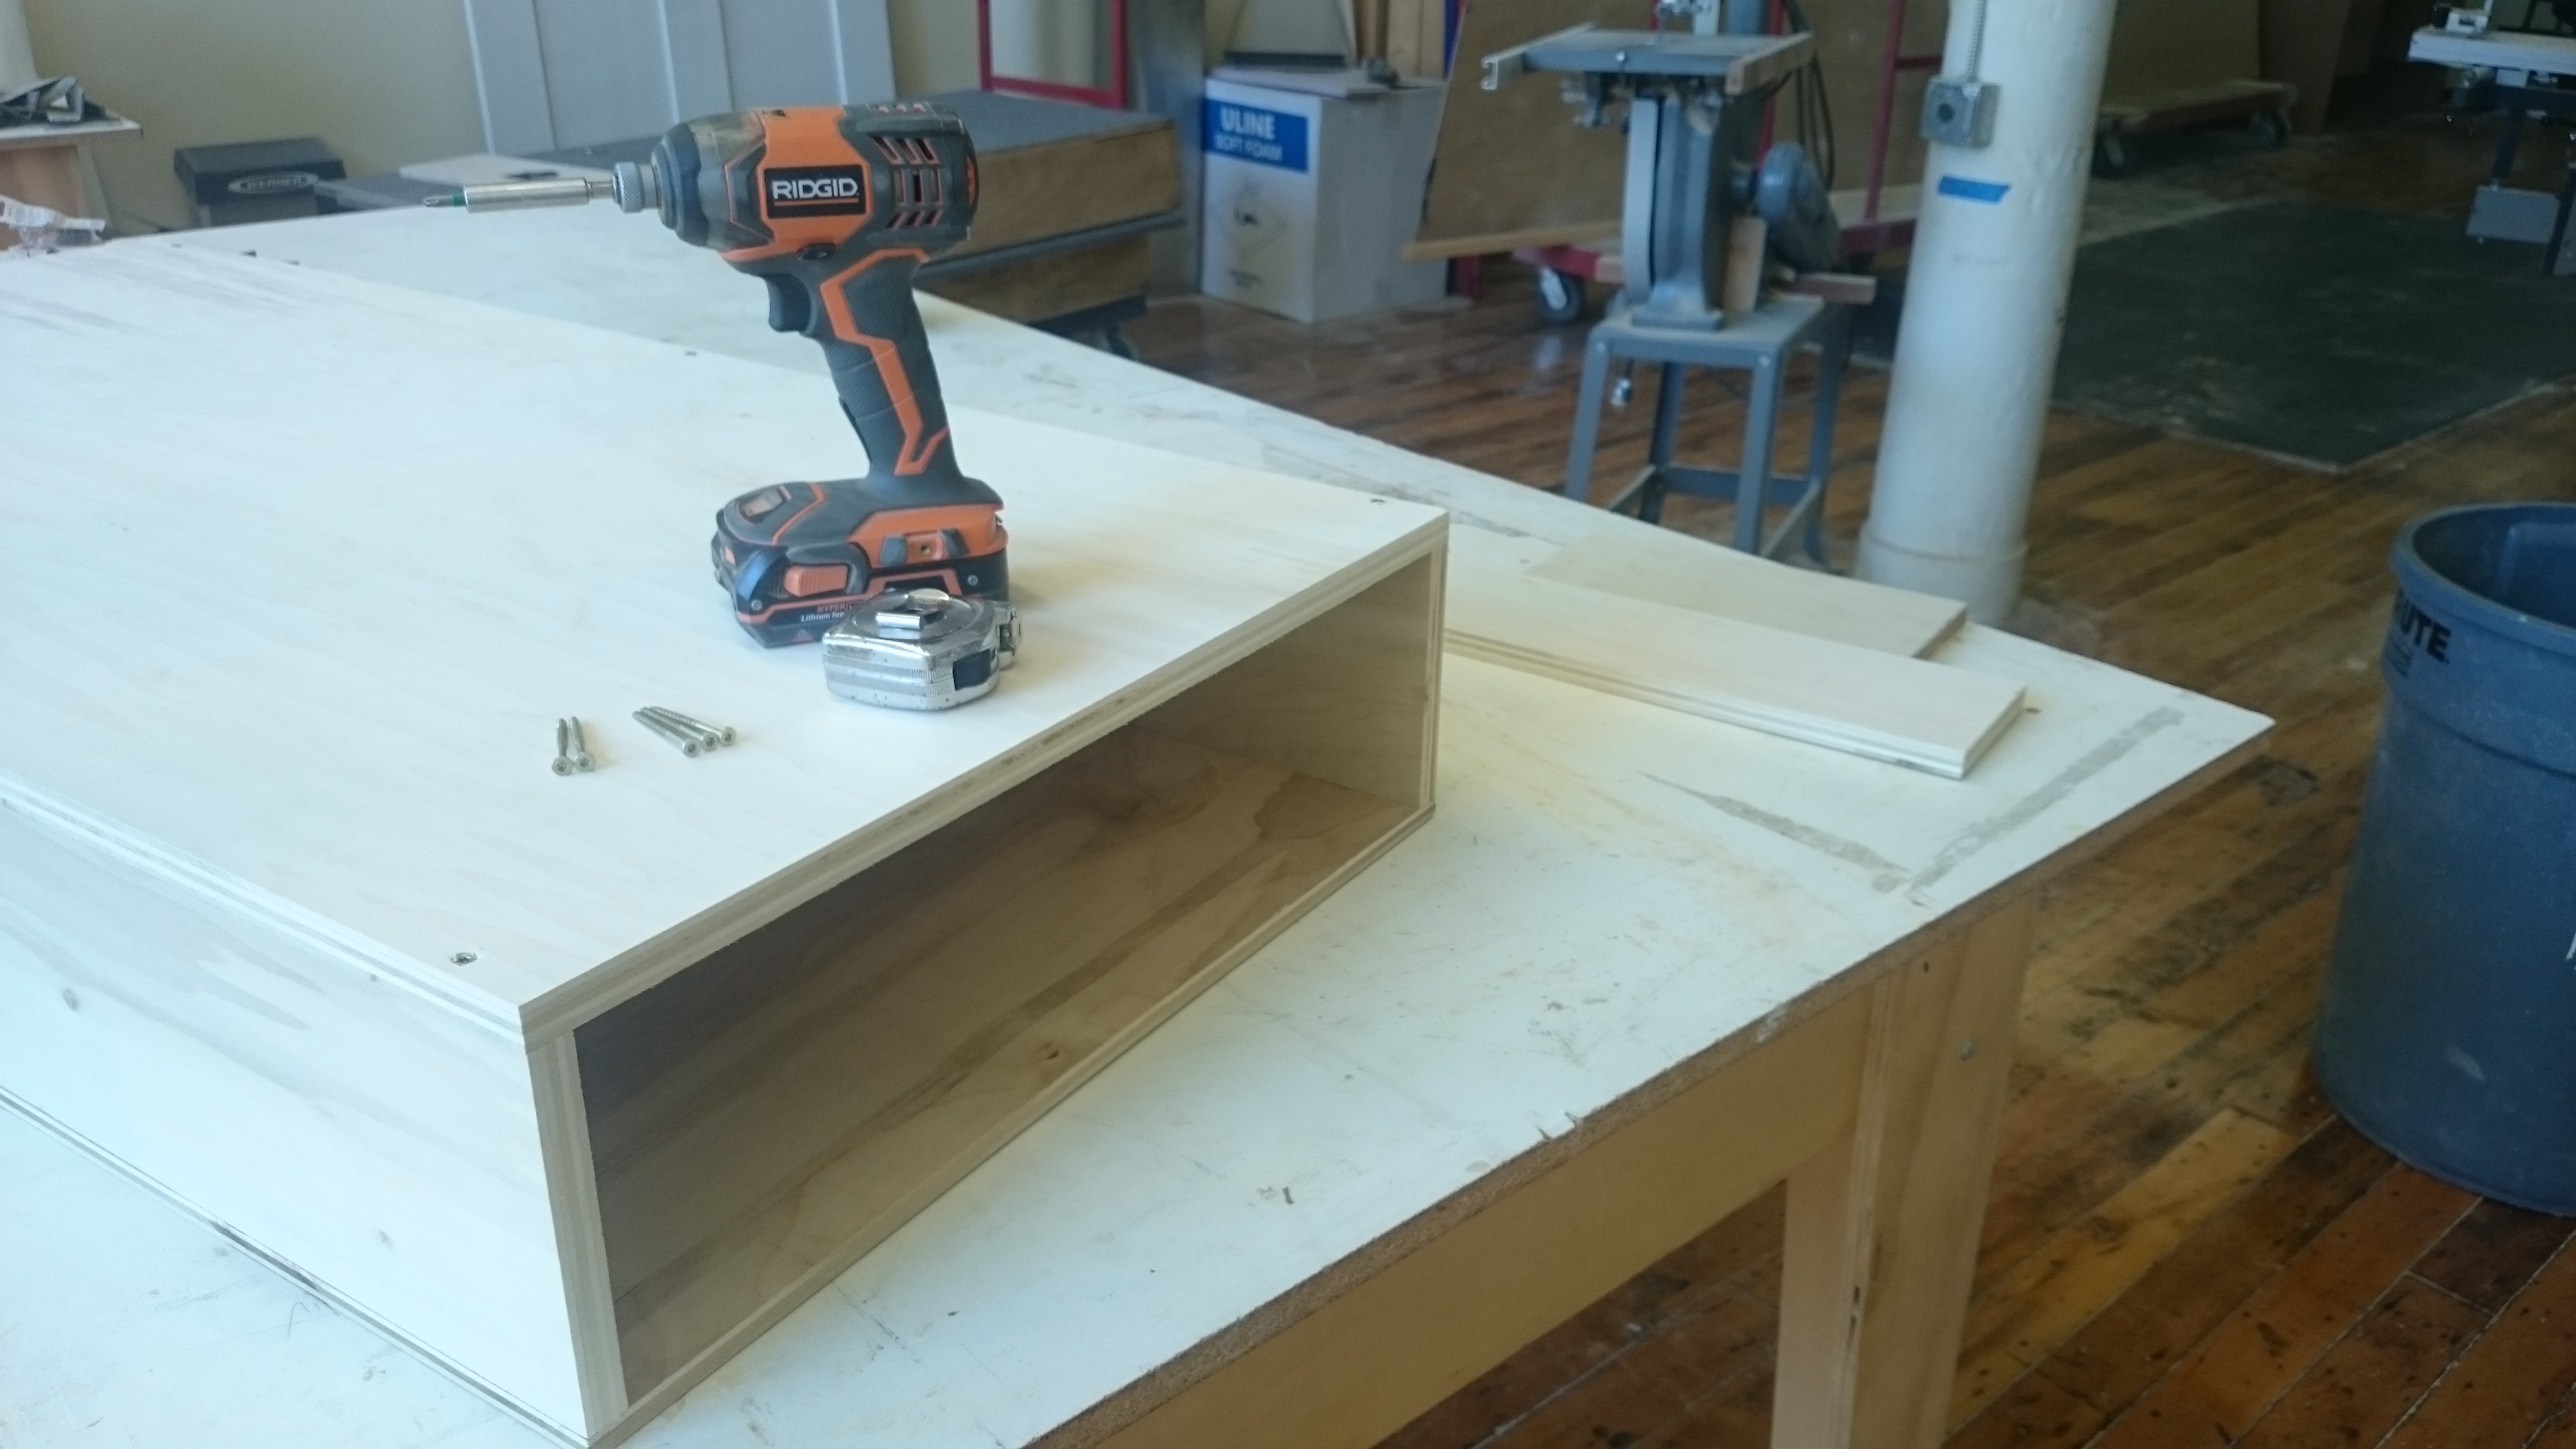
Figure 1: Drawer box assembly.
For this project, I subtracted ¾” from wheel well width, divided it by 2, and made each of my boxes 23 ⅞”. That leaves a little wiggle room side to side and allows both bottoms and tops to be cut out of single sheets of 4’ x 8’ plywood. I subtracted 2” from the length of the truck bed and made the boxes 72 ½” long (that leaves room for a drawer front and pull). The bottoms are ½” ply and everything else is ¾” for strength and ease of fastening. The overall height of the boxes is 8 ⅜”. These boxes can be screwed and glued together using 2” screws and a 1/8” bead of wood glue.
Drawers this size are a bit unwieldy, so I incorporated storage compartments close to the cab of the truck for items that I don’t have to get at often like jumper cables. These are also great spots for an extra battery and an inverter for charging all your collars and devices.
When both boxes are complete, clamp them together and drill holes through the center partitions for the barrel bolts that will hold the two sections together.
Step 3: Cut and fasten wings for a tight fit at the tailgate – View Figure-2a and Figure-2b
The truck measures 58 ⅛” at the tailgate including the bed liner. The boxes shouldn’t be so tight as to be difficult to install, so I subtracted ¼” from the tailgate width and made the final width including the wings 57 ⅞”, leaving a ⅛” of wiggle room on each side. Consider just screwing these wings on and not gluing them so that they can be removed.
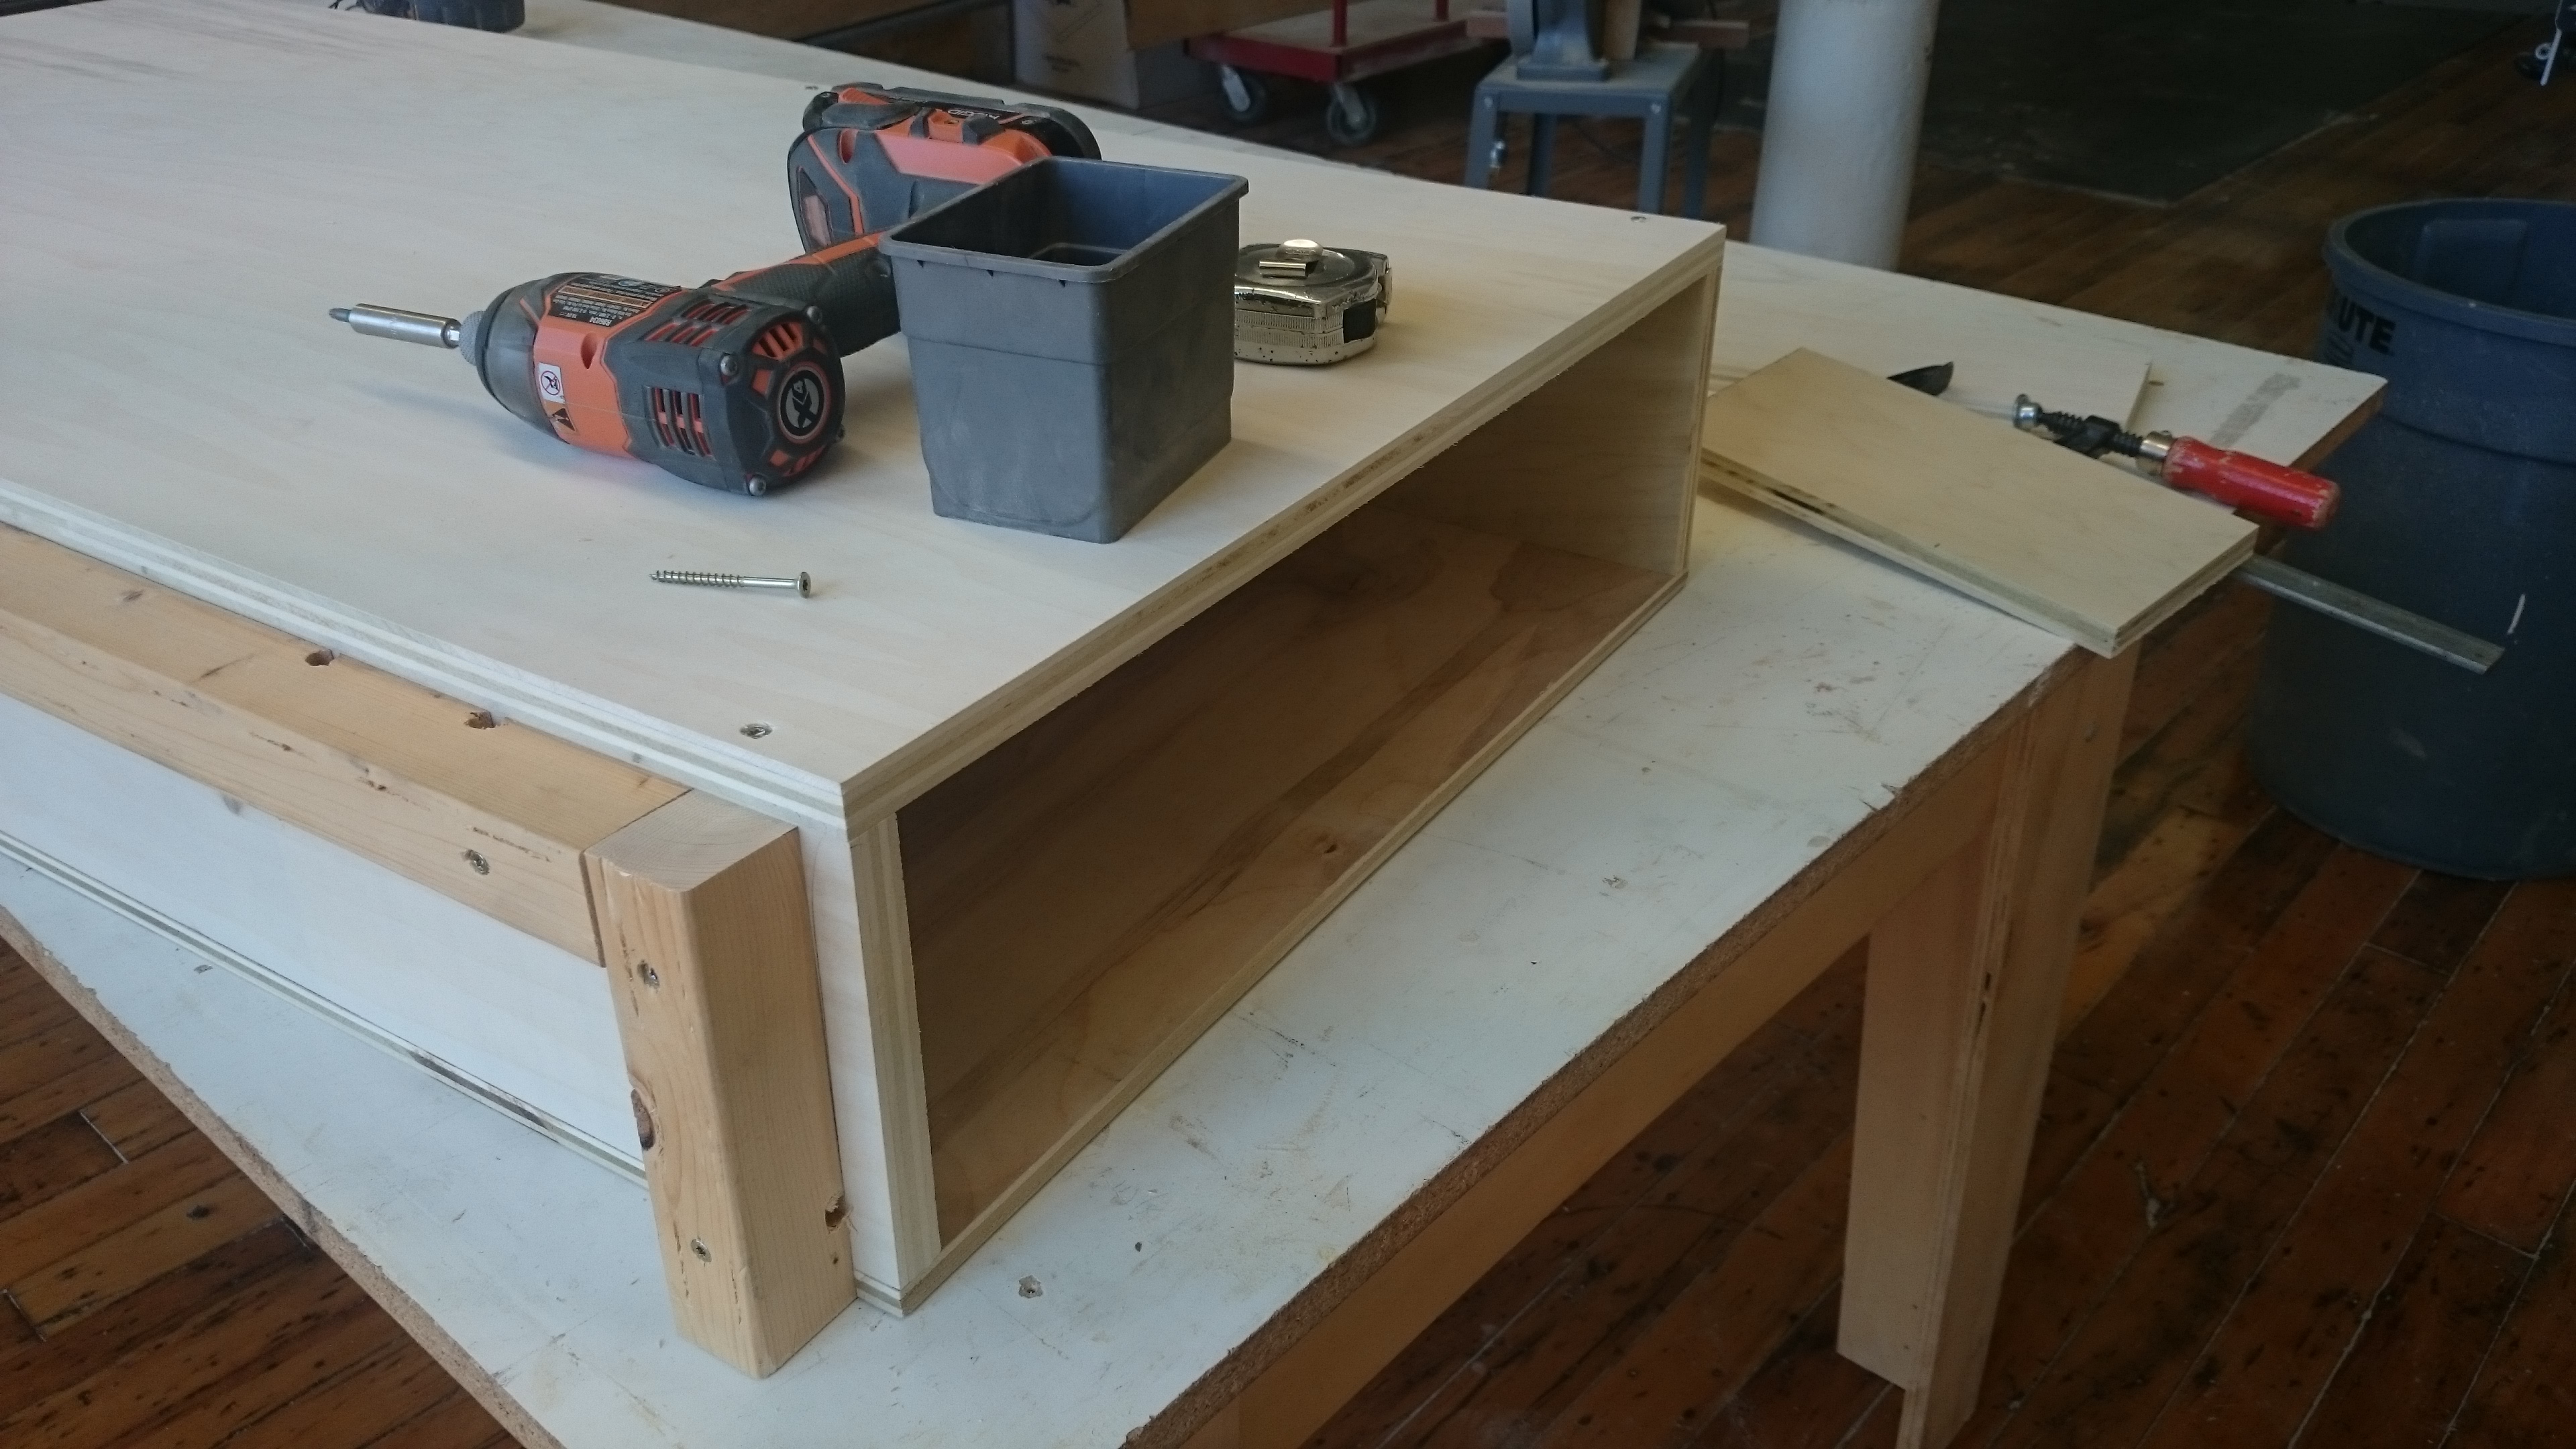 Figure 2a: Attaching 1 ½” square wing supports to drawer box. |
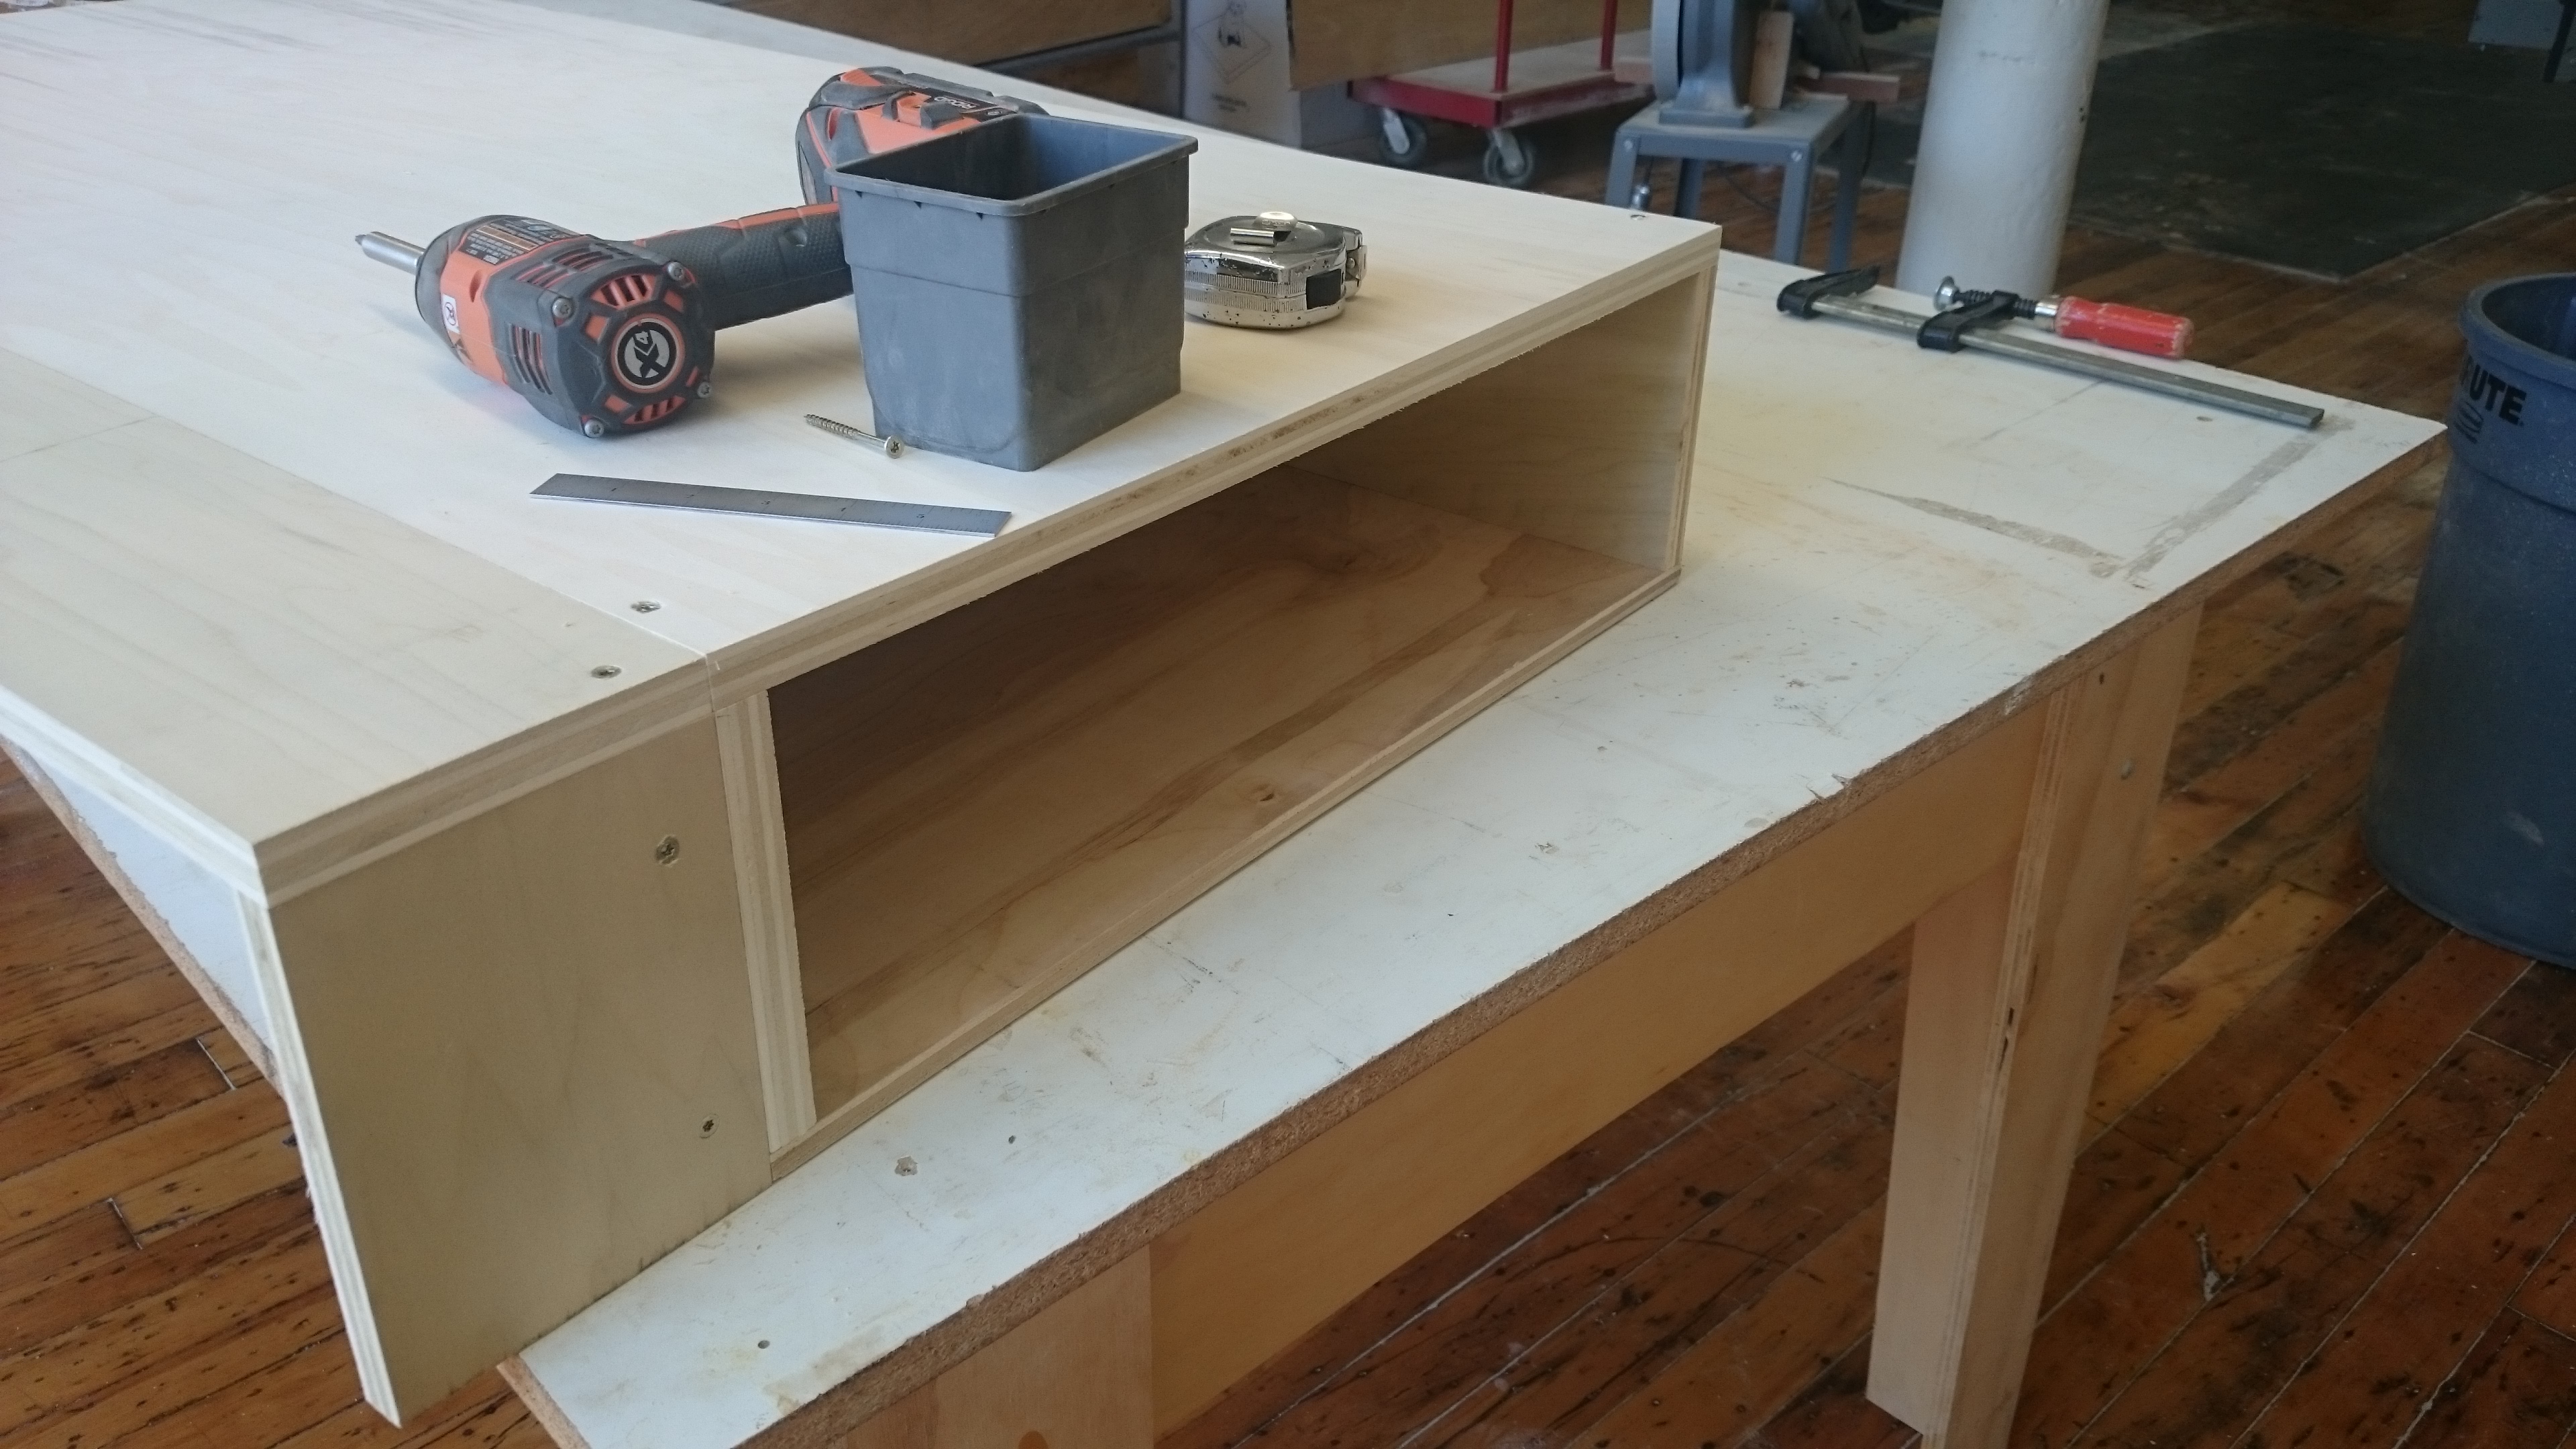 Figure 2b: Wing installation complete. |

