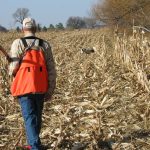
Yard Work for the Young Pointing Dog
The game preserves are closed and spring has arrived. (On the calendar that is, for as we write this column, we are under a winter storm watch and it is, in fact, snowing.) As we residents of Iowa like to say, “If you don’t like the weather, stick around, it’s bound to change.” But the tulips are open, buds and leaves are emerging, and the grass is green.
So what time is it? It’s yard work time!
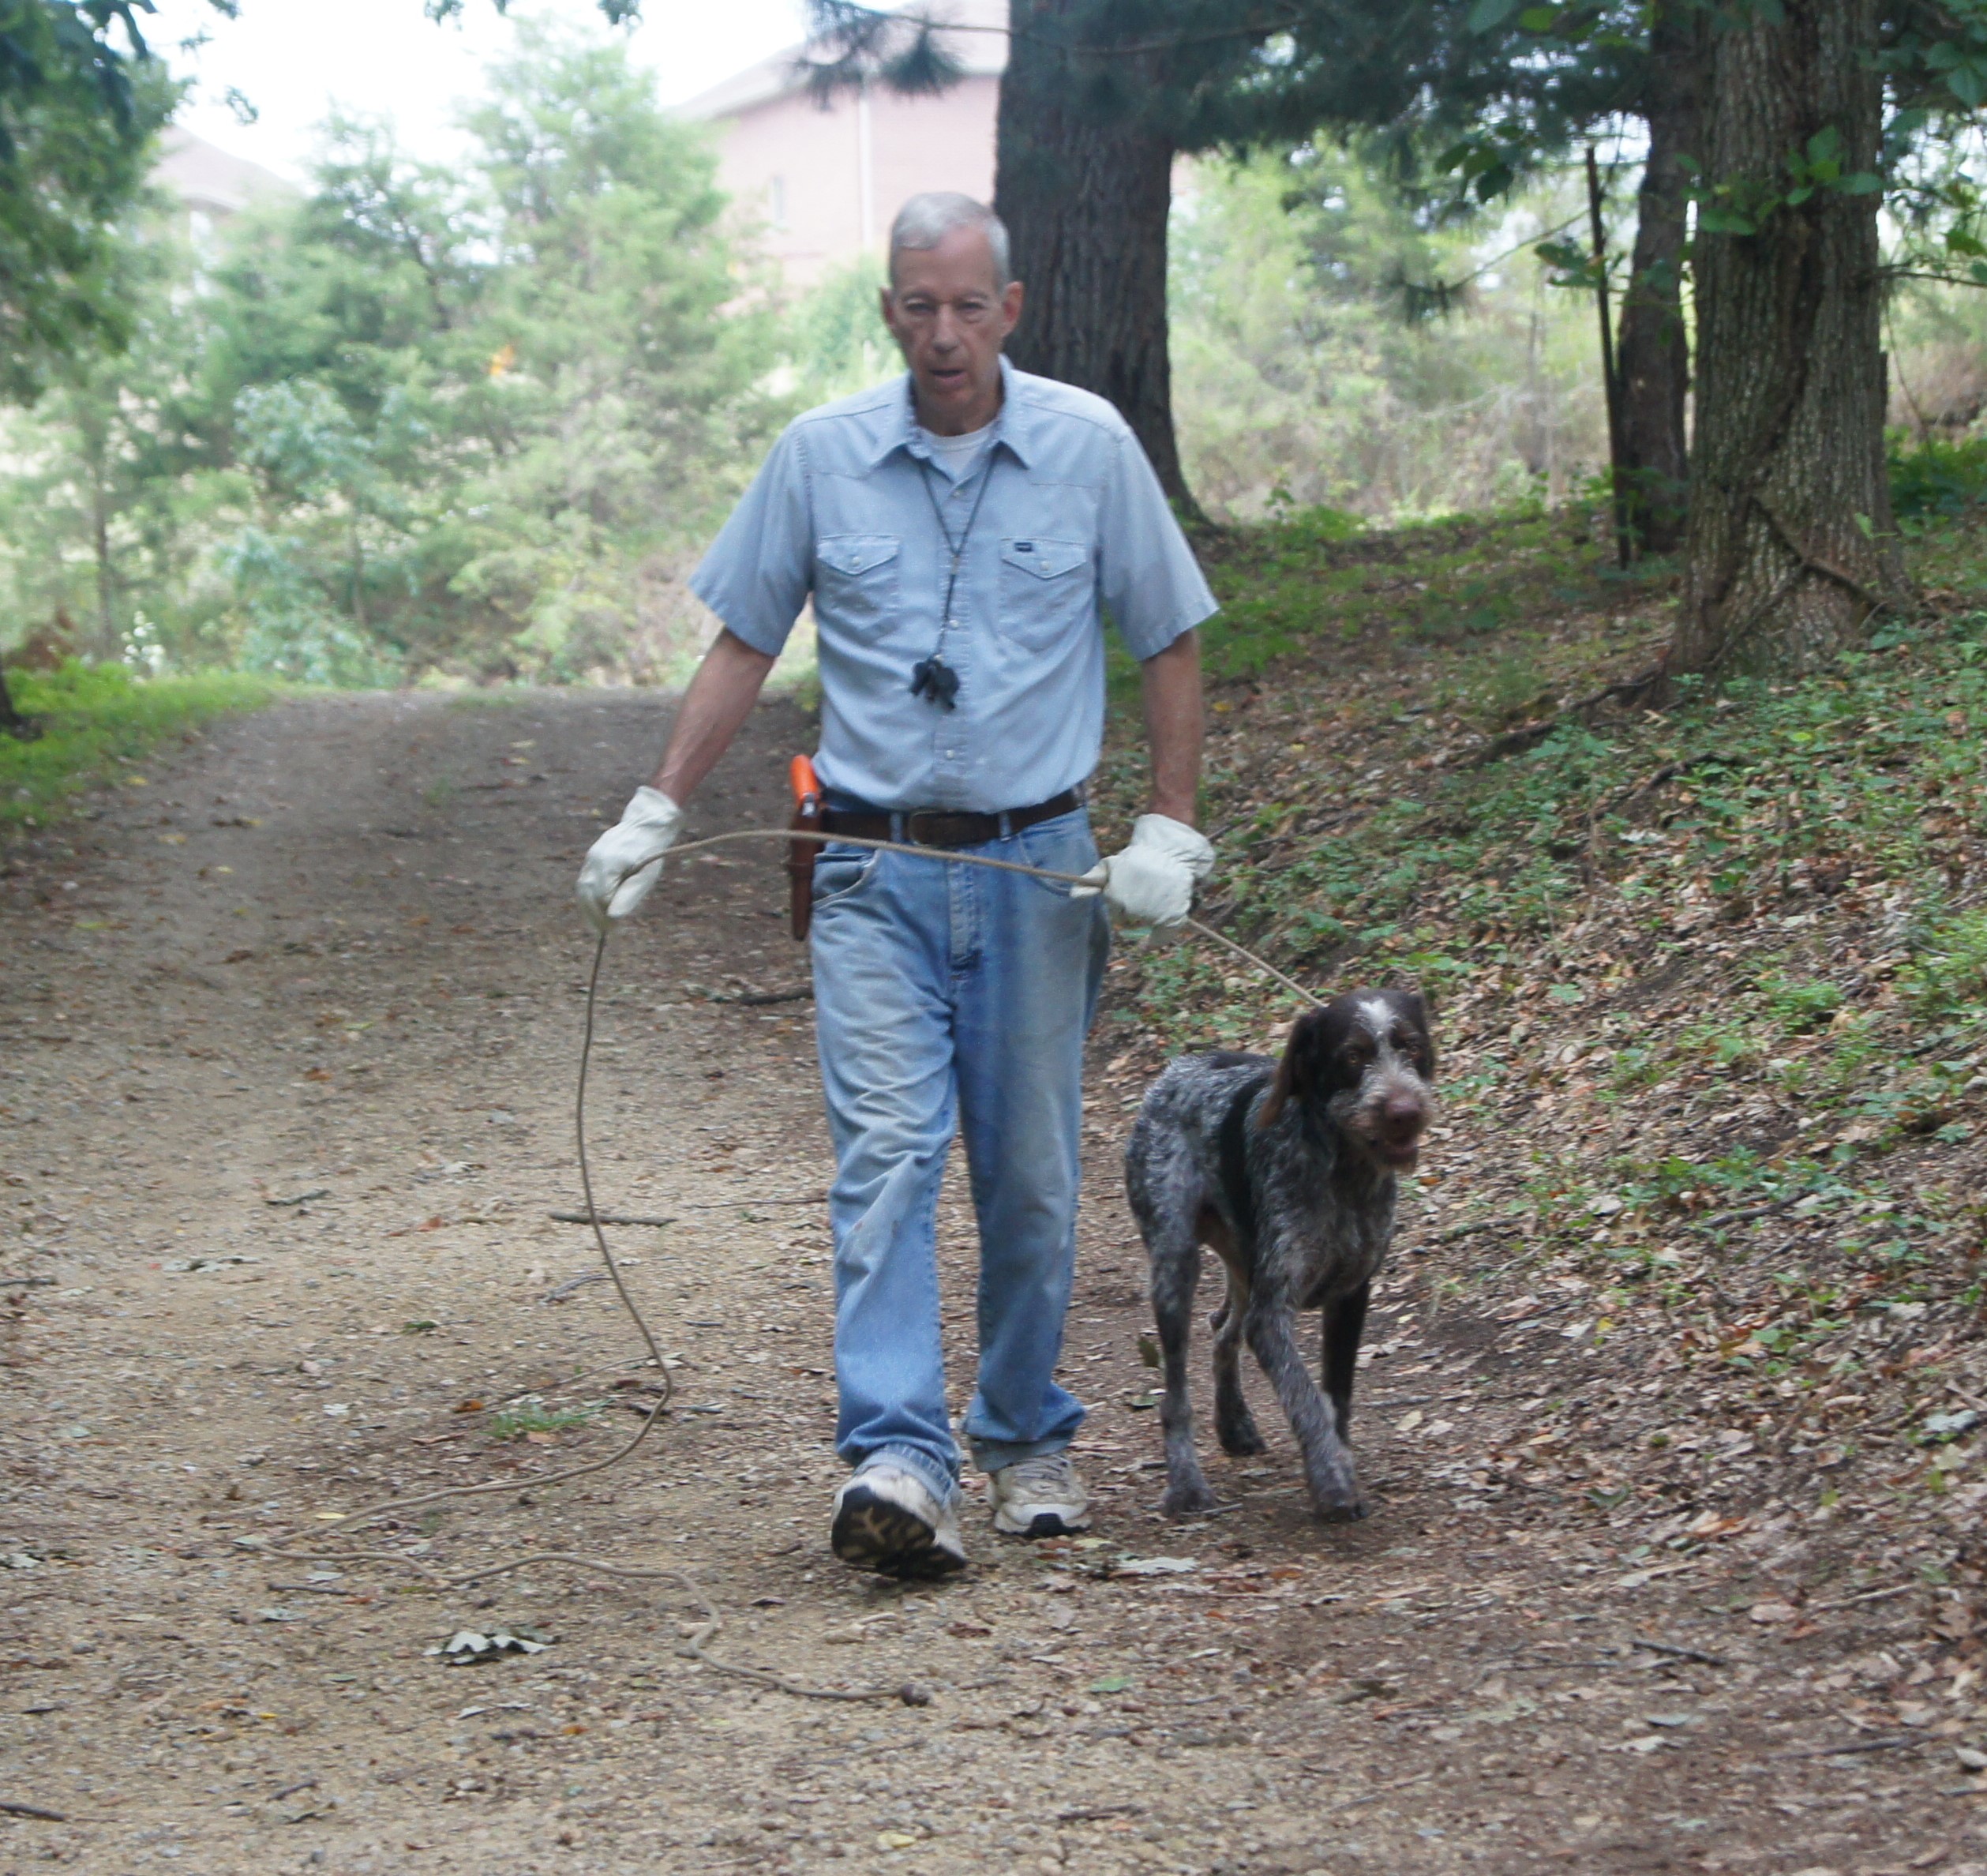
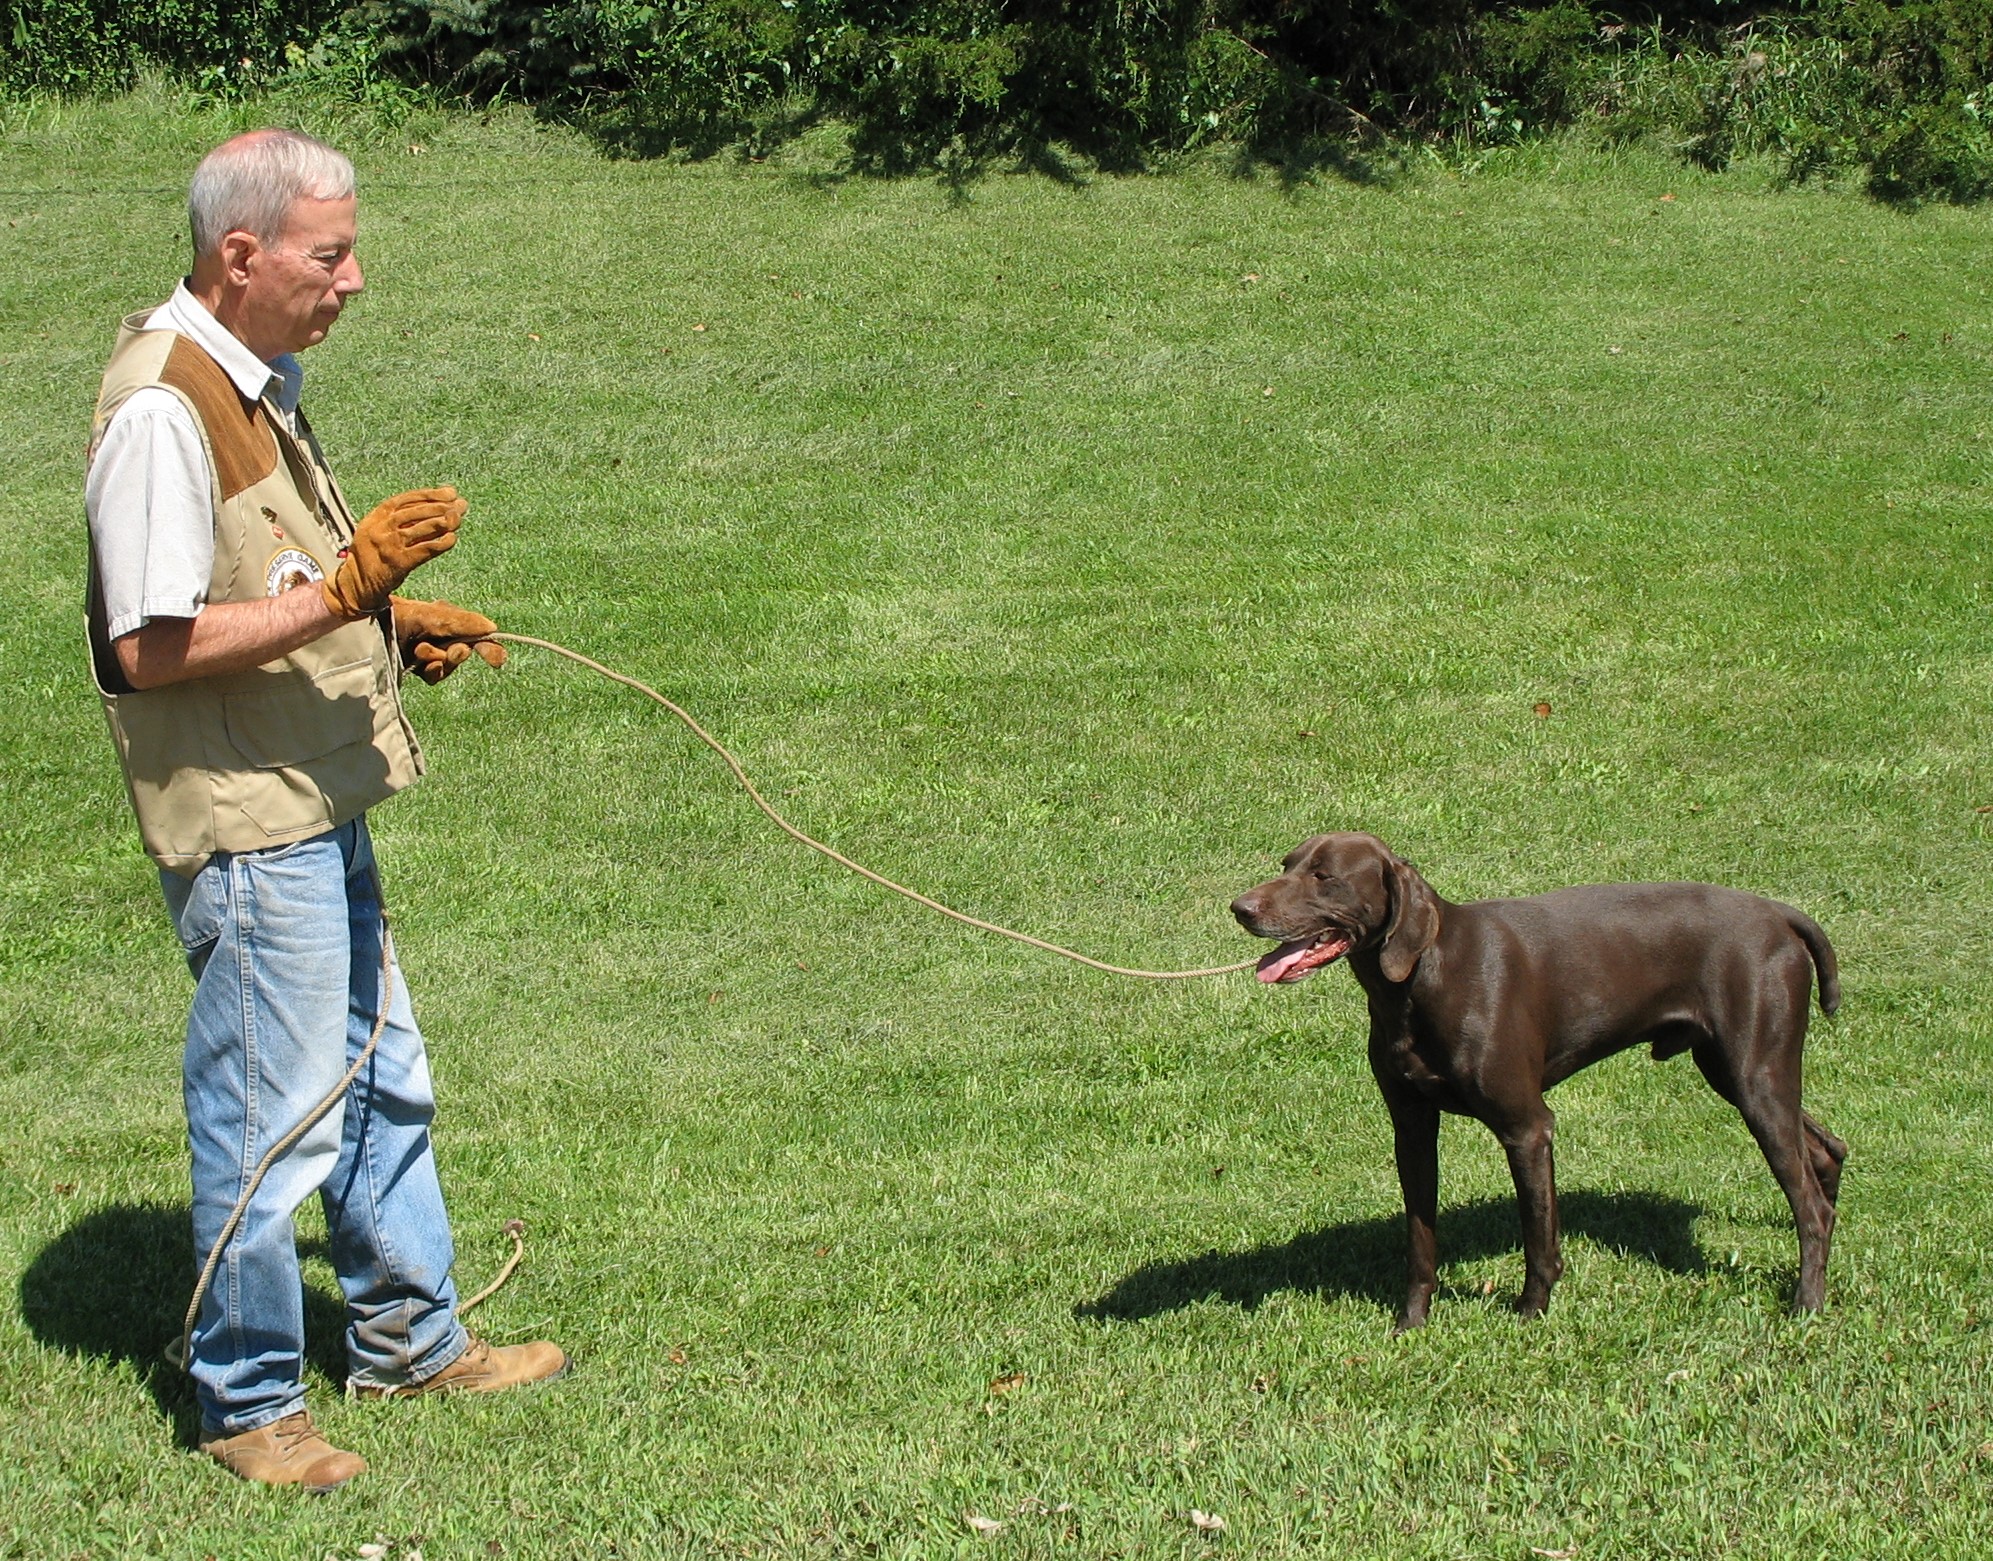
Proper position for training lead.
Spring is an ideal season to get going on yard work, or obedience training, with your young pointing dog. Now that she has been introduced to birds, is beginning to hunt with enthusiasm, and is pointing or flash pointing, she’s ready to begin yard work. As a young pup, she learned her name, became accustomed to a regular collar, walking on a lead, and handling in the field on a checkcord.
Right now, though, your pup likely takes you for a walk, pulling you along behind her as she leads the way – going first one way, then another. She probably has no clear idea of what whoa means, and she may come when called if she feels like it, but might ignore this command if something more exciting has caught her eye.
Though regular obedience training includes other exercises, we keep our yard work simple, focusing on just three main commands: Heel, Whoa, and Here (Come). The here command is most important and could save your pup’s life, keeping her from darting off after a rabbit or deer. You will want your pup to heel at your side when you walk together, particularly when you arrive at a hunting site where the grounds are a distance from your vehicle. And you’ll want pup to develop a good understanding of the whoa command – used both in and out of the field.
These three commands teach the young dog manners and help keep her safe. We refrain from teaching pup the sit or down commands. We never want our pup to sit or lie down on point. We’ve found that some young dogs, when under a bit of pressure, may sit or crouch down on point when cautioned to whoa. Other trainers or handlers do teach the sit command with no problems.
When starting “serious” yard work training, we want our pup to be happy and bold, even pulling us around! It’s easier to teach yard work to the confident pup than to one that is shy and hanging back, tail tucked between her legs. It’s important that the soft, shy types be excited about birds and hunting before we instill any obedience in them. It’s also important to take a patient, positive approach with these pups, using lots of encouragement and praise. Keep all lessons short and fun, but try to train daily if possible. End on a positive note and praise often when pup does what you ask.
Here
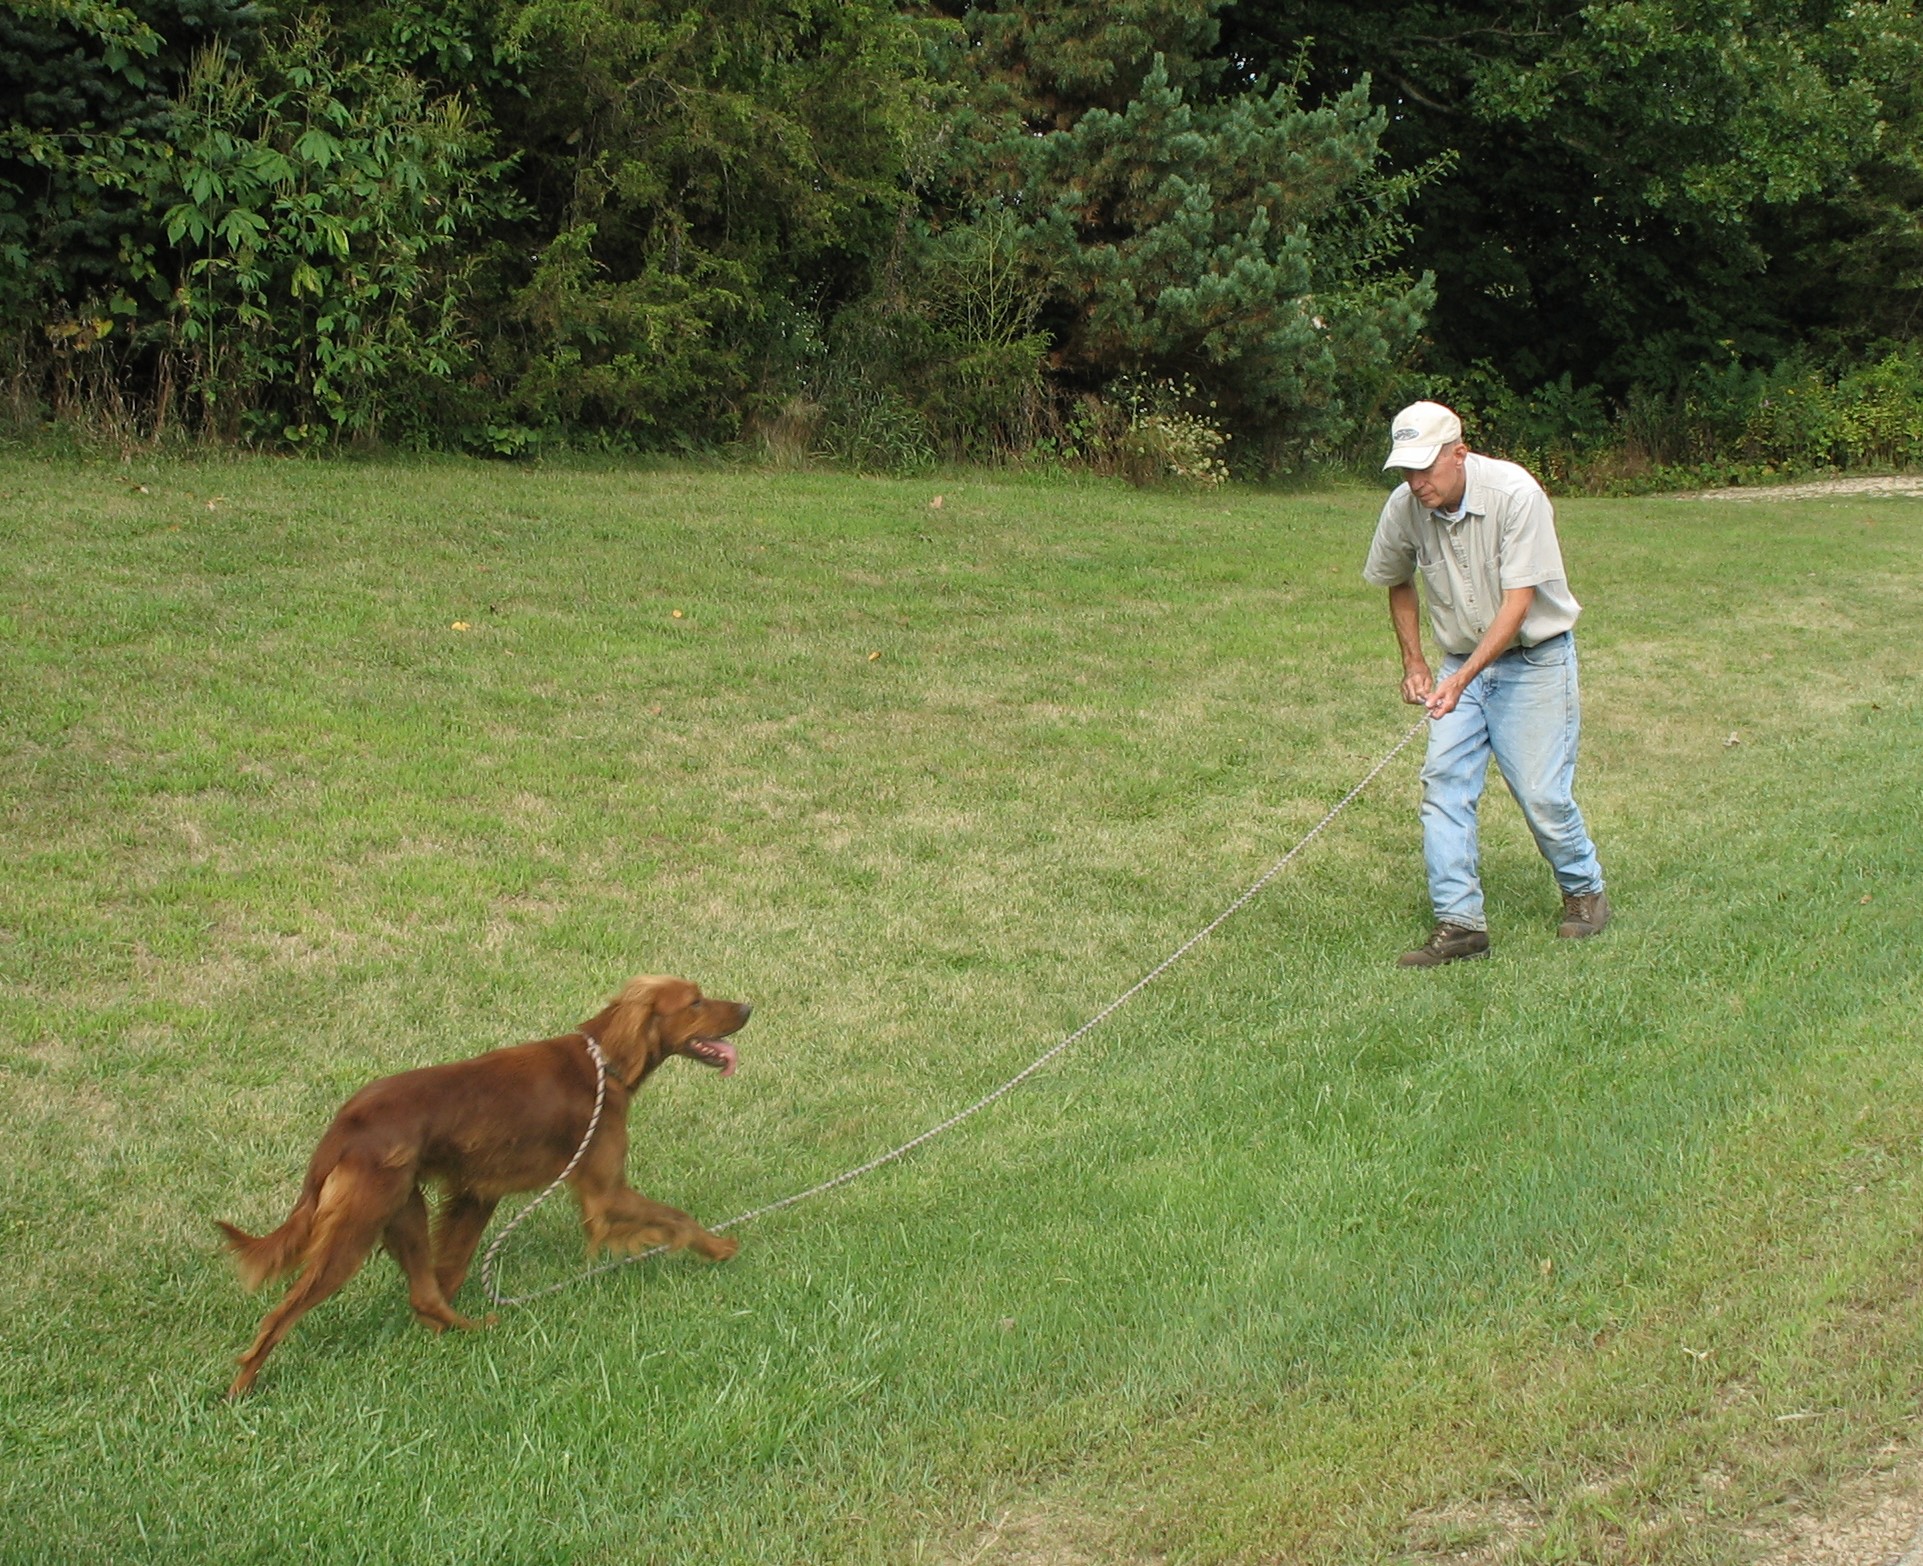
Encourage pup to come to you!
We start with the here command because our pup needs to be ranging out and not paying attention to us in order to teach him to come back to us. If a pup is already hanging close to us and refusing to get out from under our feet, it’s hard to teach him to come!
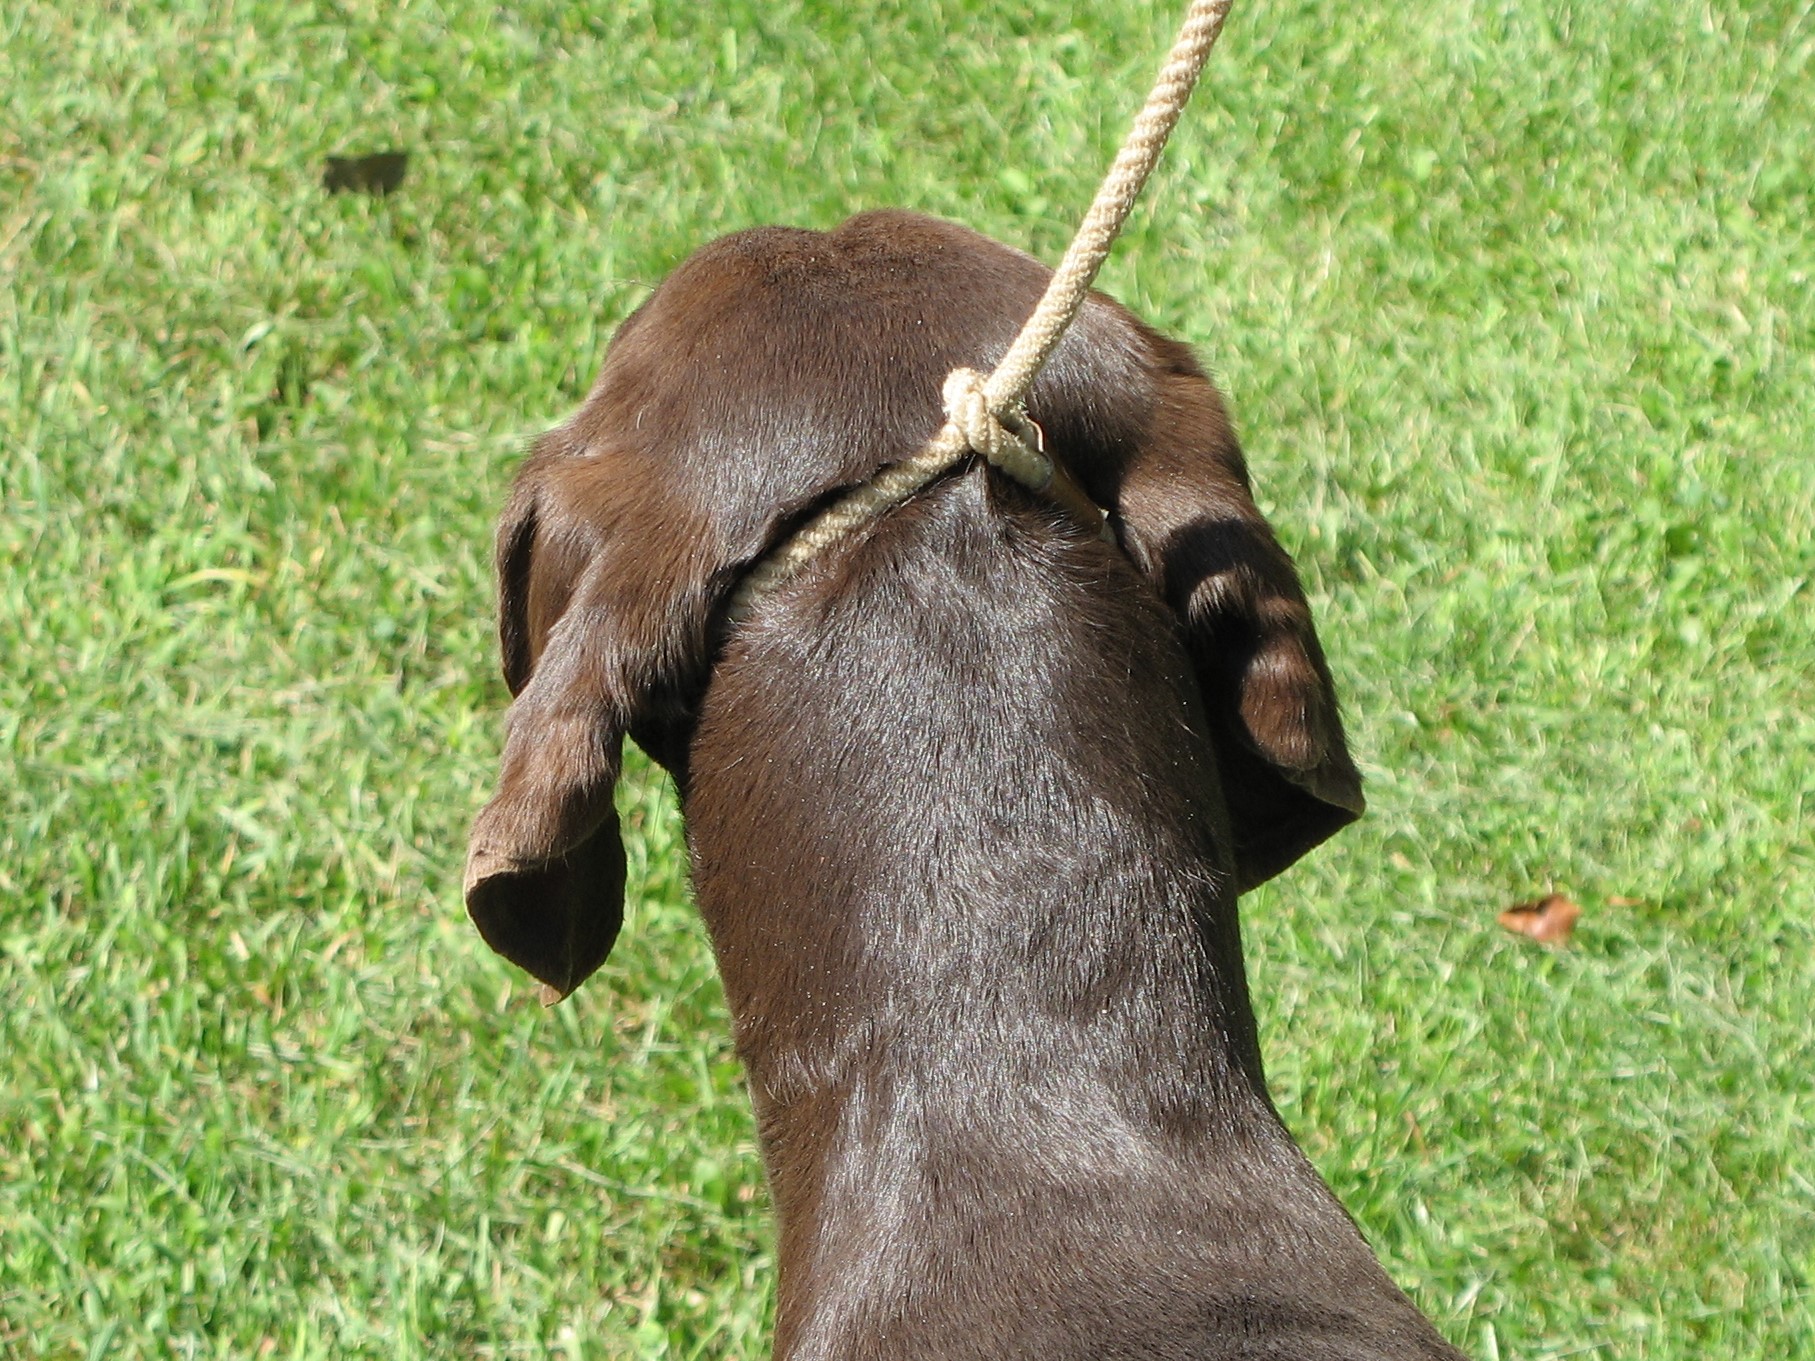
For this exercise, we’ll use a 15-foot checkcord with a nylon slip training collar, which gets pup’s attention but releases instantly. This collar should be about two inches longer than the size of pup’s neck. To use, the length of the nylon collar is dropped through one ring, forming the collar. Facing the dog, fashion the letter “P” with the collar in your hands and place it over pup’s head. Then attach the checkcord snap to the slip collar ring that tightens and loosens the collar.
In your yard, driveway or a mowed field (without birds), walk in a forward line, and let pup range out and explore, paying no attention to you. As he reaches the end of the checkcord, with no more slack, briskly pop the checkcord and firmly call “here” at that exact moment. Pup will be surprised and will often start back toward you. Praise and encourage him. If he lags or goes in another direction, pop the checkcord again and command “Here!” followed by lots of praise when he comes toward you. Clap your hands and encourage pup to come happily. We want this to be fun, but we also want pup to realize that he has no choice. Giving treats initially helps to instill the exercise and keep things positive. Most pups catch on quickly. In fact, you’ll soon find that pup will begin to hang around you, anticipating your command! Now you can introduce some distractions to the exercise, such as kids playing nearby, etc.
Never call your pup to you if you can’t enforce your command! Repeated commands to come “here” – while not enforcing them – only teaches pup to ignore you.
Heel
Learning to heel teaches pup manners.
Once pup has the here command down pat and is hanging close to you, it’s easy to transition to teaching him the heel command. As you walk in a forward pattern, with the pup close by, maneuver yourself so that pup is on the side you want him to heel on (we heel our dogs on our left).
Keep walking forward but gradually take up some of the checkcord excess as you do. Then do an about turn to your right and keep walking steadily back in the opposite direction. As the remaining checkcord plays out, pup will feel a pop when you turn and will likely turn and follow you. At this stage we don’t give the heel command, but keep walking in straight lines and doing right about turns occasionally. Soon you’ll see that pup is watching you, ready to turn when you do. As he gets better at this, you’ll be able to gather in most of the checkcord excess, using about 6 ft. of it and letting the excess drag. Now that pup knows what you want, you can start to add the heel command when you turn, patting your thigh as you give the command and praising him when he falls into place next to you. Continuing the about turns to the right keep pup from forging out ahead of you.
Now you can graduate to using the slip collar and a six-foot lead, and start to vary your straight lines into a rectangle pattern, always turning to the right. Later, when pup is proficient at heeling, you can start making turns to the left in your pattern. You’ll probably surprise him and have to bump him gently with your left knee.
We use our special training lead, with a built-in slip collar, for the heel exercise. It works well with large, strong dogs that have first learned to heel as described above. Slip this type of lead over the pup’s head, facing him as with the nylon slip collar and using the letter “P” method. Fix the collar part of the lead higher up under the dog’s throat with the slip part that comes through the lead positioned at the top back of the pup’s head, just behind the ears. As you walk, use a gentle, up and down motion, holding the lead about a foot or so above his head. We don’t use this lead initially on young pups.
In all heeling exercises, remember to keep moving briskly and don’t adjust your pace to pup’s! Be consistent with the about turns, and look ahead to where you are going, not back to where your pup is. It’s his job to learn to walk next to you, taught with patience and firmness.
Whoa
Gradually increase your distance on the whoa command.
In basic yard work we teach what we call a puppy whoa. This lays the foundation for whoa work when pup is on point, and for later teaching our dog to be steady to wing or wing and shot.
Once pup is heeling along nicely on a 6 ft. lead for you, it’s time to introduce the whoa command. In regular obedience training, dogs are taught to sit at heel when the handler stops. Some pups seem to do this naturally. We don’t want our pup to sit at heel!
As you walk along with pup heeling at your side, start to slow your pace gradually, then stop, gently saying “whoa.” With the lead in your right hand, steady pup in the stand position with your left hand. You may need to put your hand back by his flank to prevent him from sitting. Stroke pup lightly as he gets the idea to remain motionless. Then start walking forward again, doing your about turns and rectangle pattern. Now slow down, stop and quietly command “whoa” again. If he stands without you stroking him, so much the better. Some dogs start to wriggle and jump around if they are touched too much on the whoa exercise. It’s best to be matter of fact and quiet, showing him what you want while giving the command.
Once pup learns the whoa exercise well, you can begin to step out right in front of him, keeping pup in place and giving him the hand signal for whoa (hand upraised like a stop sign, facing pup). After a moment, swing back to the heel position, right of pup, and then resume heeling. As pup learns to stay put on the whoa, gradually increase your distance from him, eventually walking completely around him.
In all these exercises, distractions and different training areas can be added once pup is doing well. Take your time, be patient and consistent, and have fun!
Pointing Dog Pointers features monthly training tips by Bob and Jody Iler, who own Green Valley Kennels in Dubuque, Iowa. Bob and Jody have trained pointing dogs for over 35 years and have written many articles for The Pointing Dog Journal.